Setup time: 10 Min
Create Outbound Integration
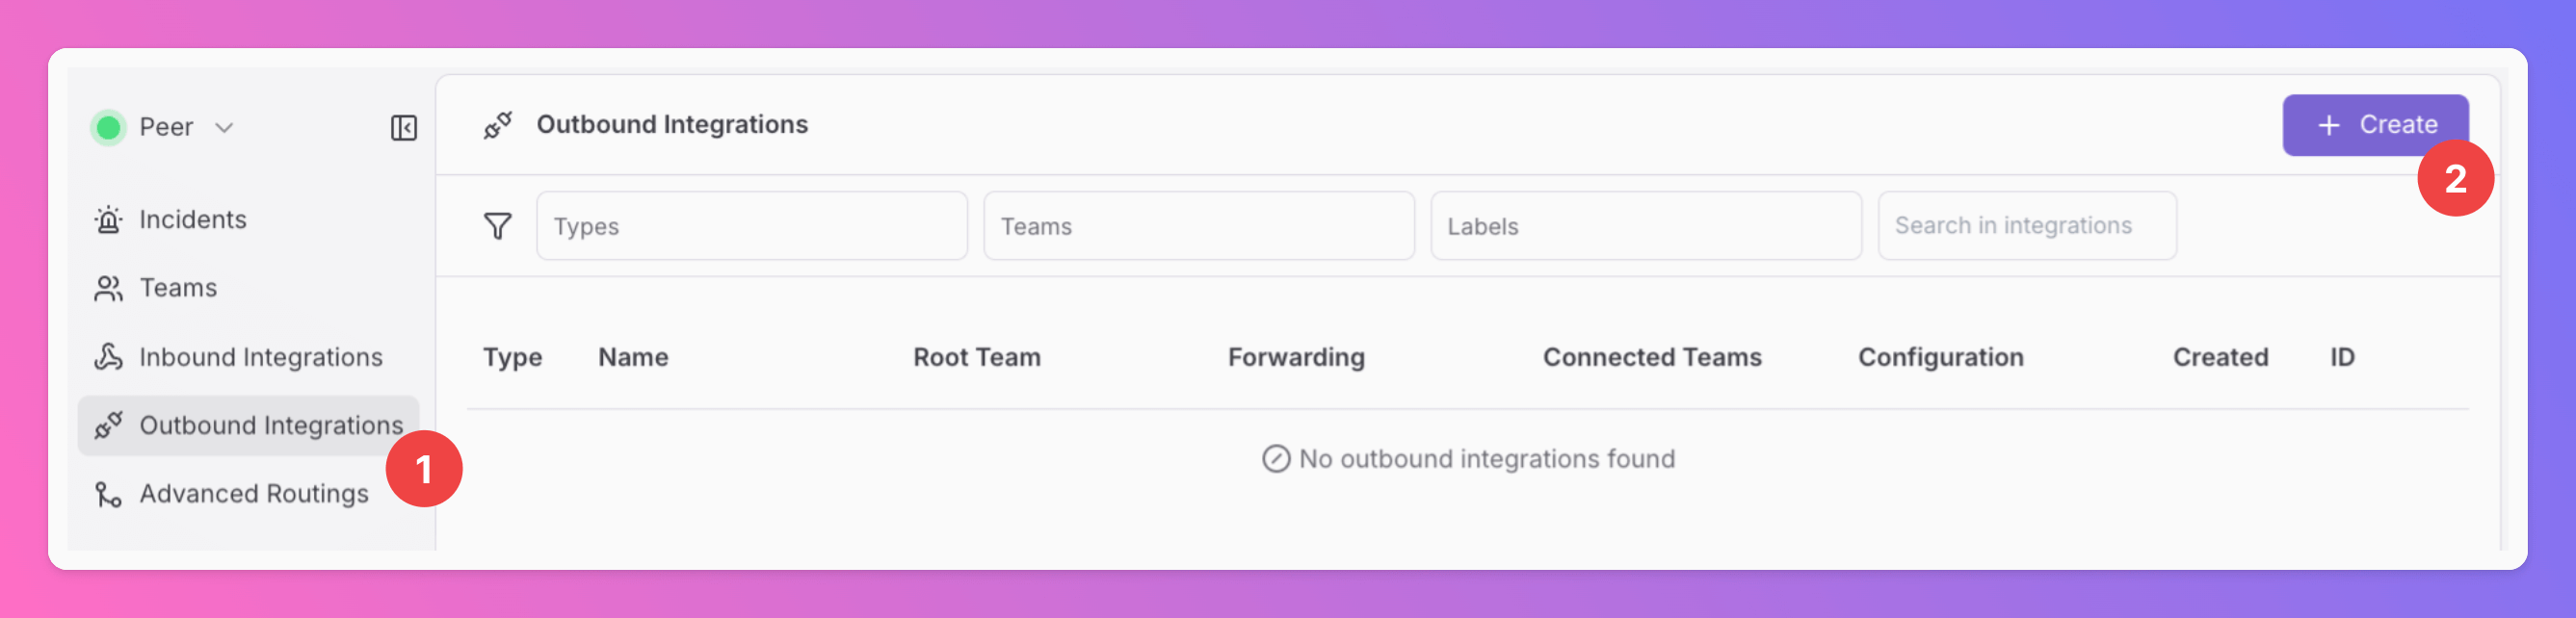
- Click on the
Outbound Integrationstab. - Click on
+ Create.
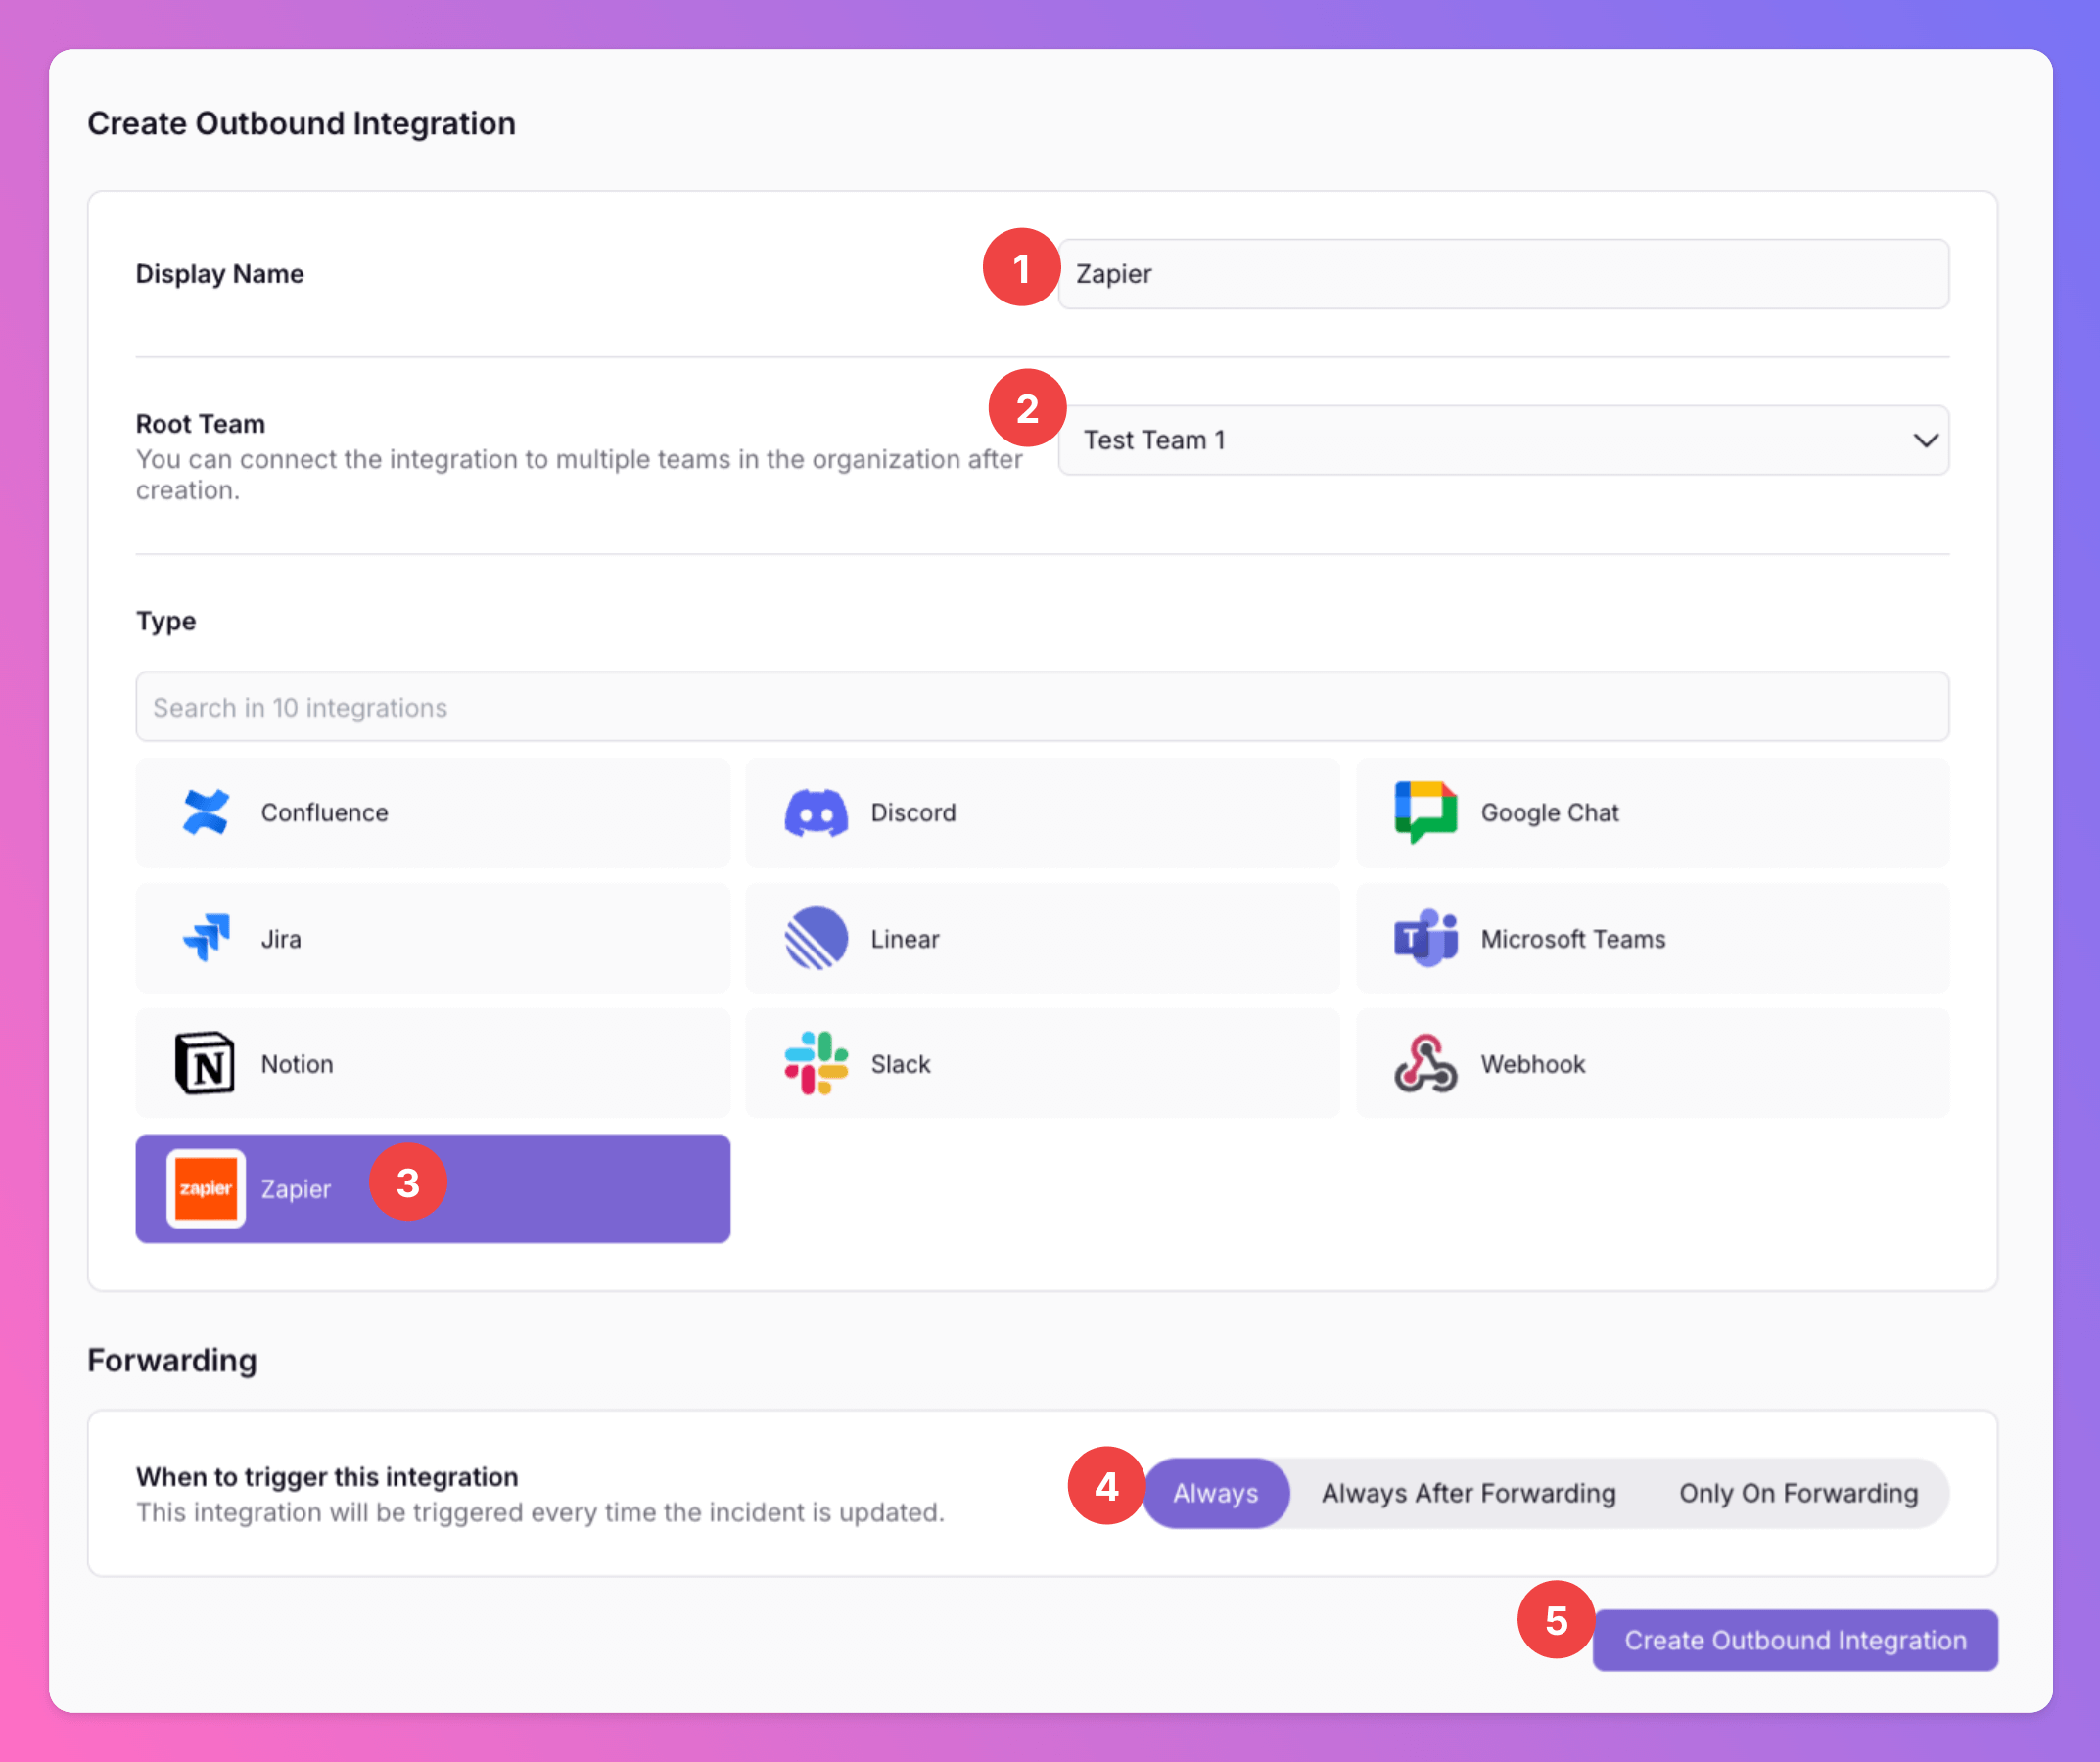
- Enter a
Display Namefor your integration, e.g. “Outbound Webhook”. - Select a
Team.For Organizations with Pro and Enterprise plan: This is going to be the root team of your integration. You will be able to add additional teams in the next step. - Select
Webhookas the integration’s type. - Forwarding settings:
- Default:
Alwayswill automatically forward all incidents to your Zaps, unless excluded by additional advanced routing rules. - Alternative 1:
Always After Forwardingwill only sent requests if users manually forward specific incidents or if you set up advanced routing rules for your Webhook Outbound integration that automatically forward incidents in specific scenarios. After Forwarding, all updates of the incident will also be pushed to the Outbound Webhook. - Alternative 2:
Only On Forwardingwill only forward a snapshot of the current incident history to your Zaps in the moment users manually forward specific incidents or if you set up advanced routing rules for your Zapier Outbound integration that automatically forward incidents in specific scenarios. We will not send any incident updates to your Zaps, afterwards.
- Default:
- Click
Create Outbound Integration.
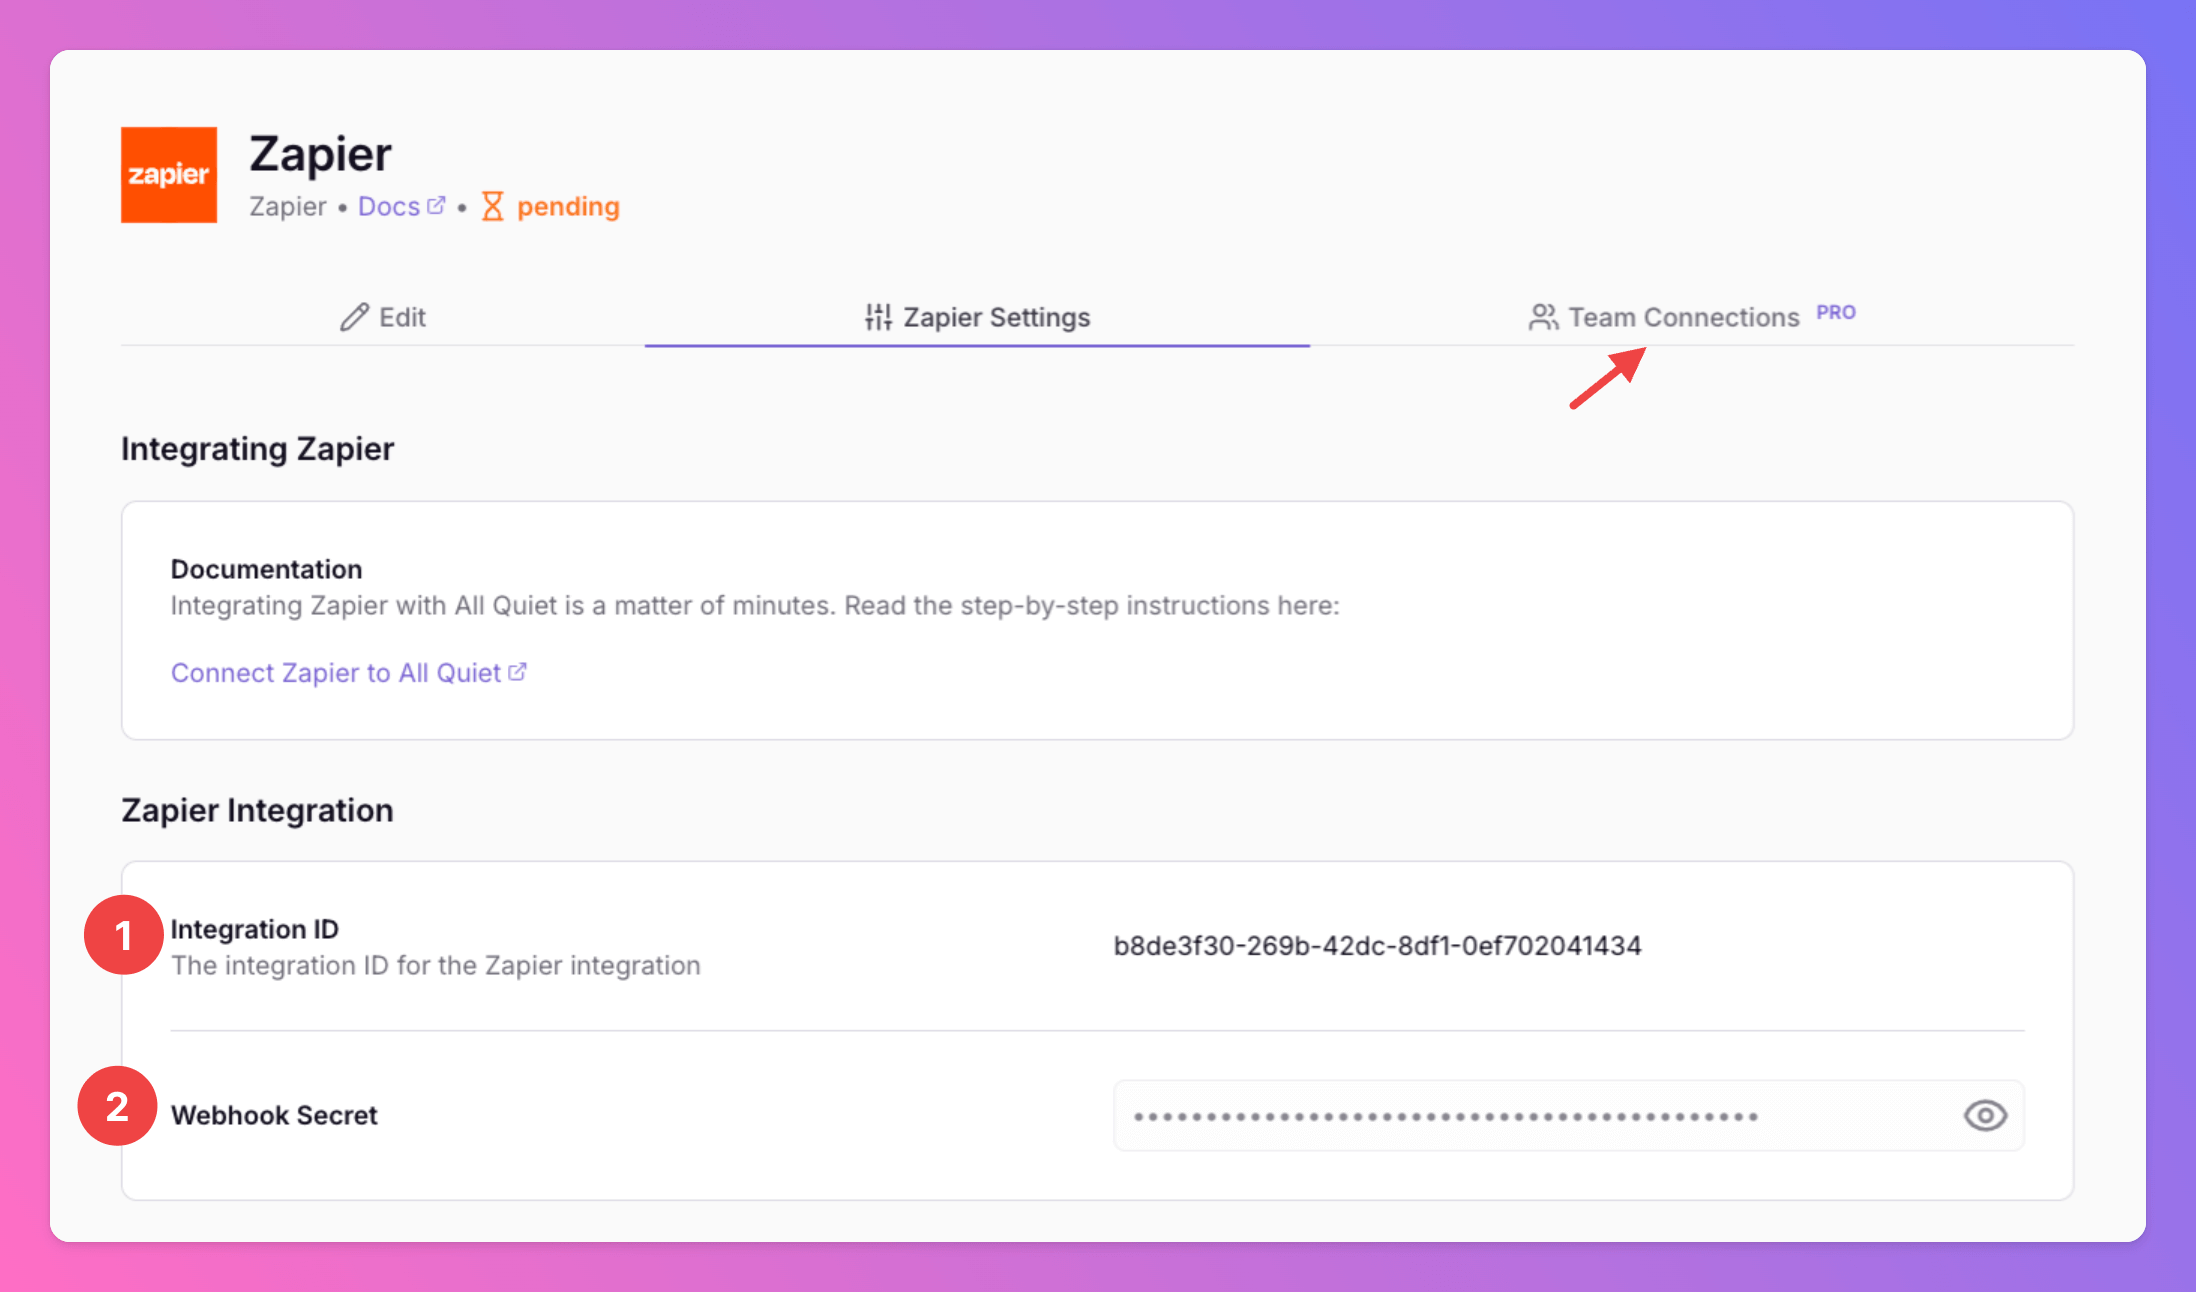
Settings page.
- You receive the
Integration IDthat you will need on Zapier’s site to connect with All Quiet. - You receive the
Webhook Secretthat you will need on Zapier’s site to connect with All Quiet, too.
Only for Pro and Enterprise plan: The root team is pre-selected, and you can add the integration to further teams within the root team’s organization. Team Administrators can add / remove those teams they are an admin in, Organization Administrators & Organization Owners can manage the connections to all teams of the organization.
Use All Quiet as a Trigger in Zapier
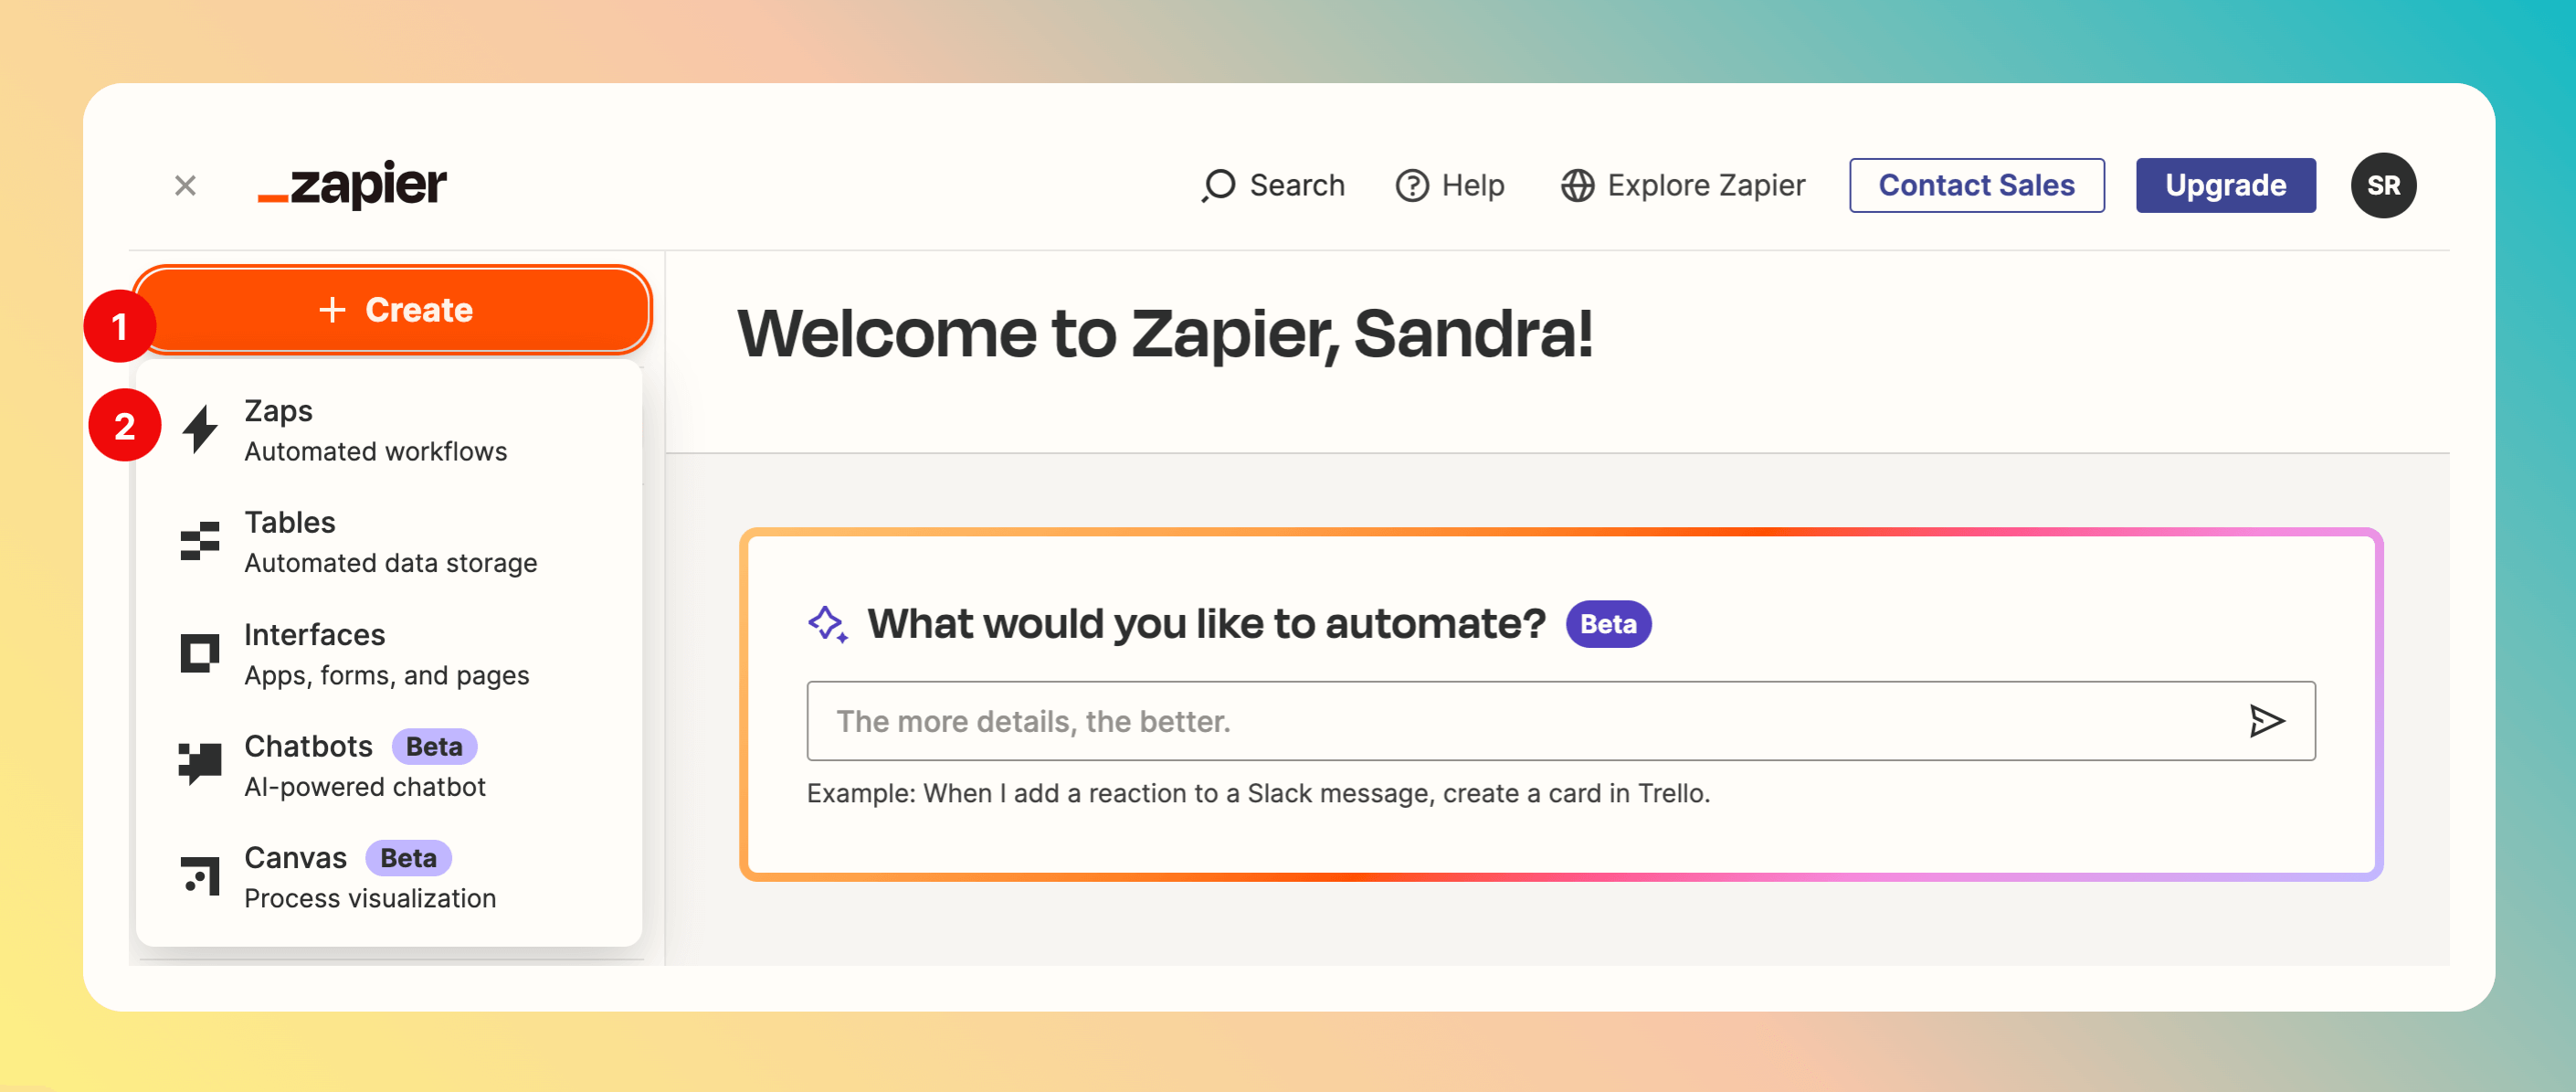
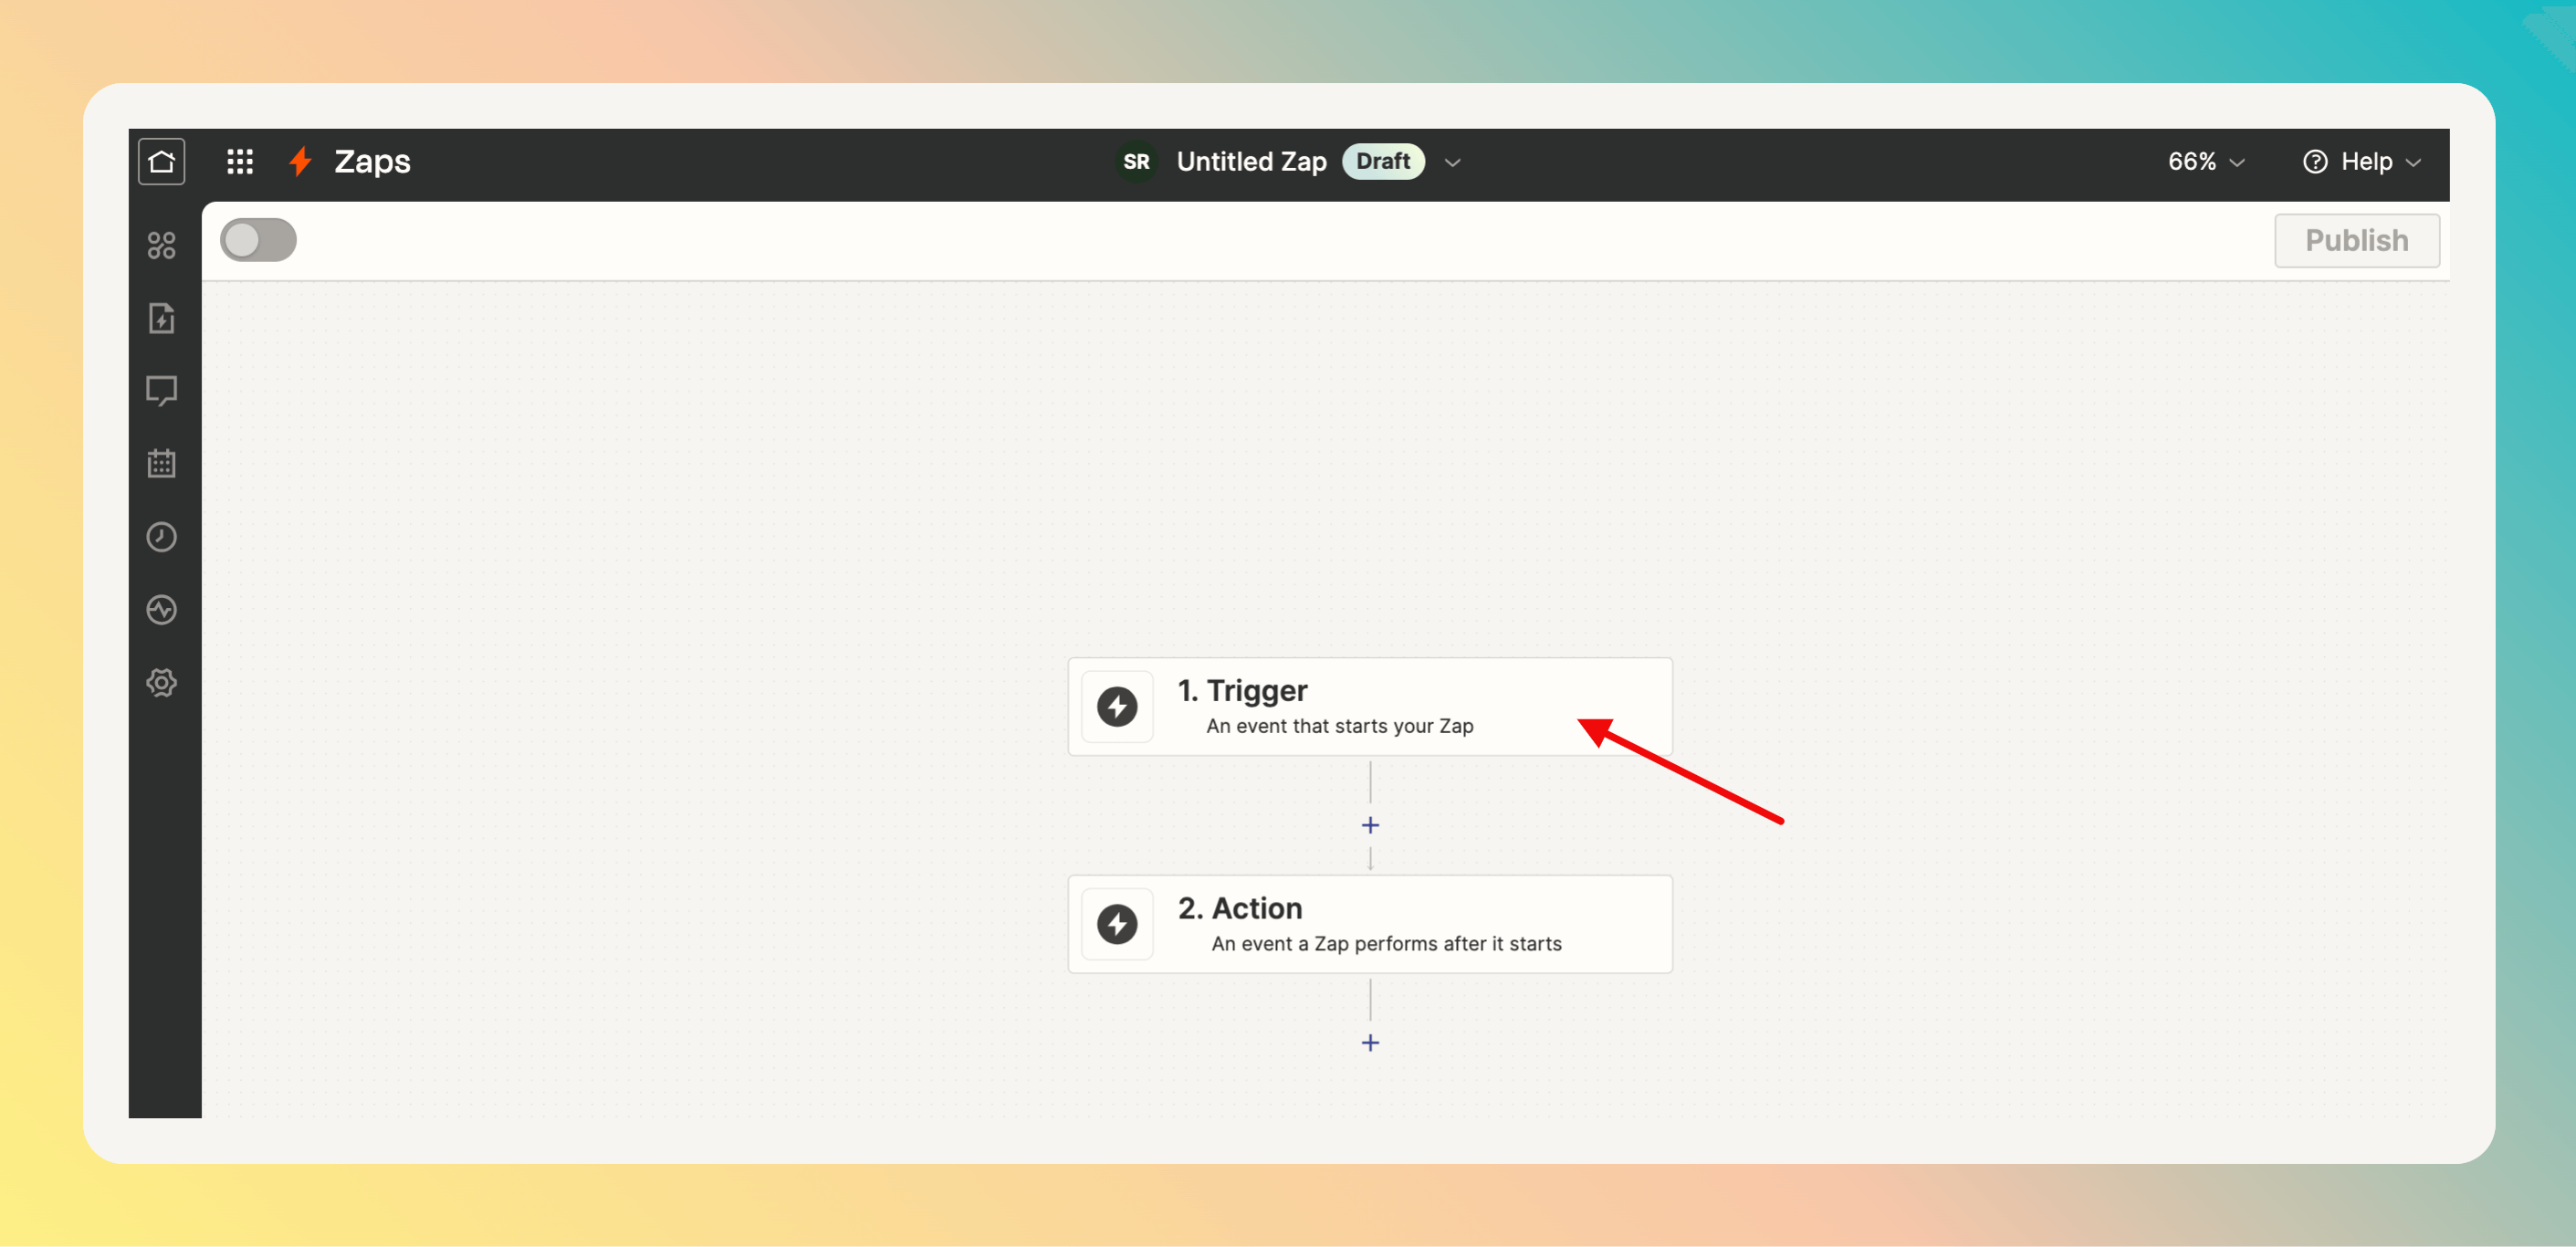
You can use Zapier to connect other outbound tools to your All Quiet workflows than those for that we have direct outbound integrations already. First, log in to your Zapier account.- On the home screen, click
Create. - Select
Zaps.
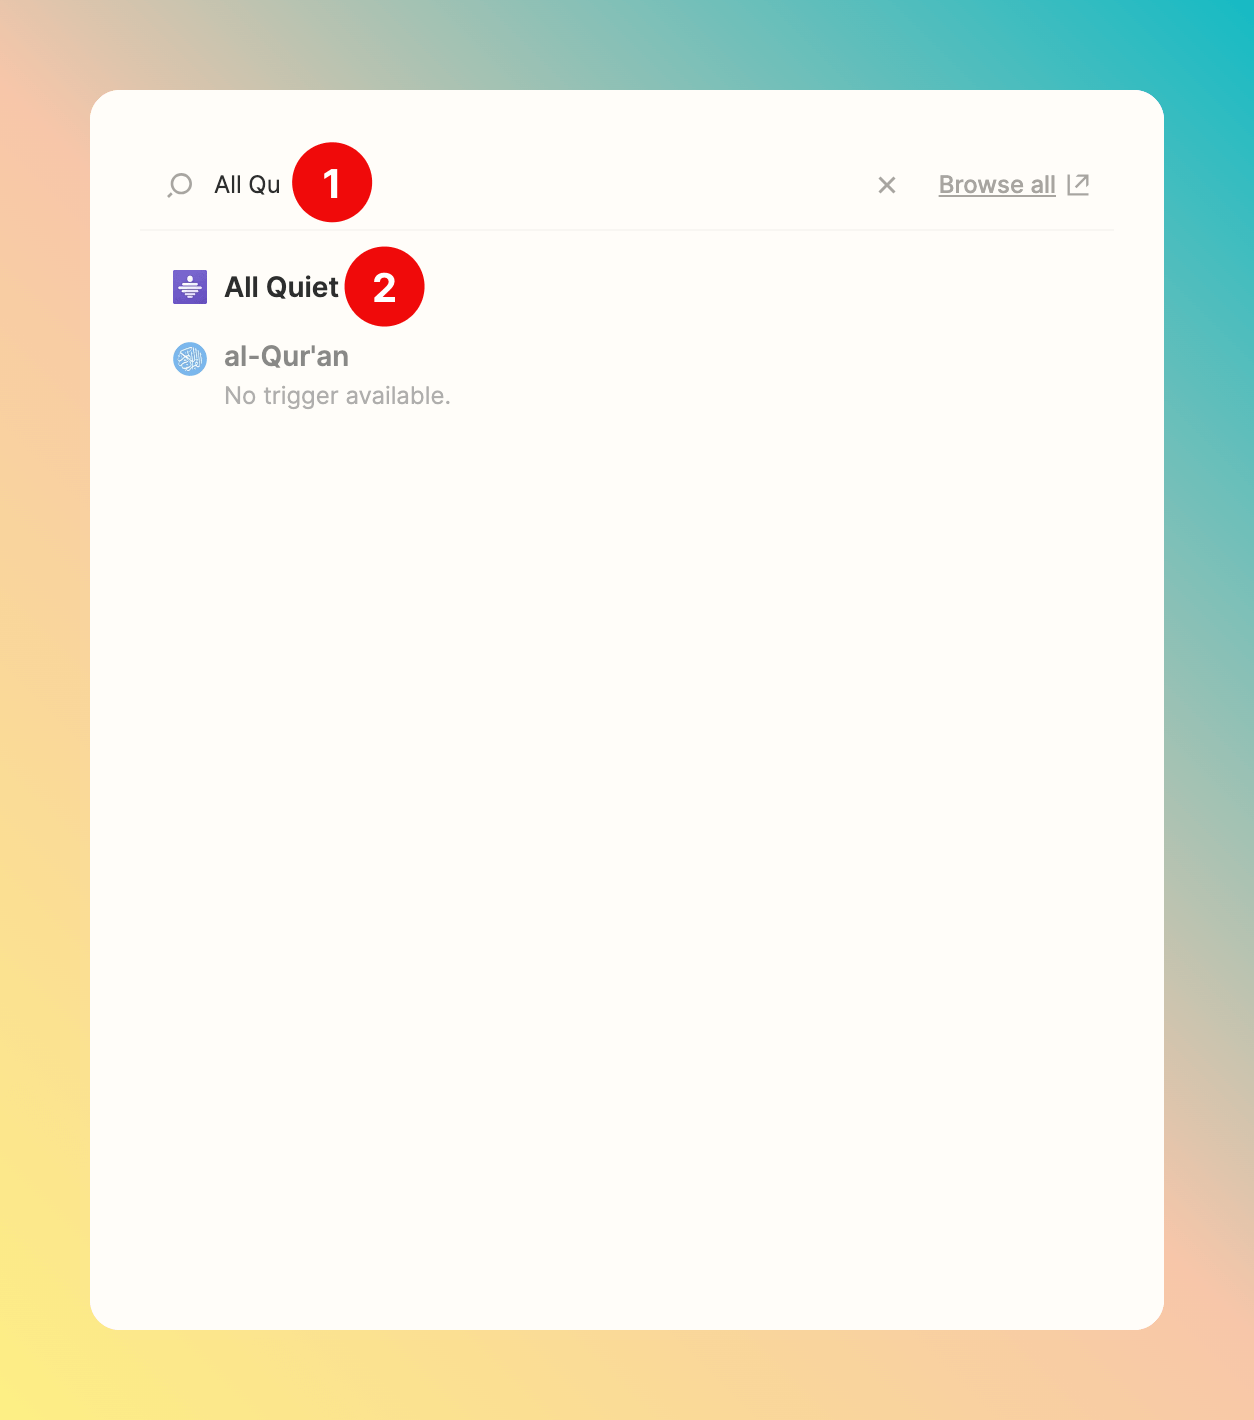
- Search for
All Quiet. - Select it.
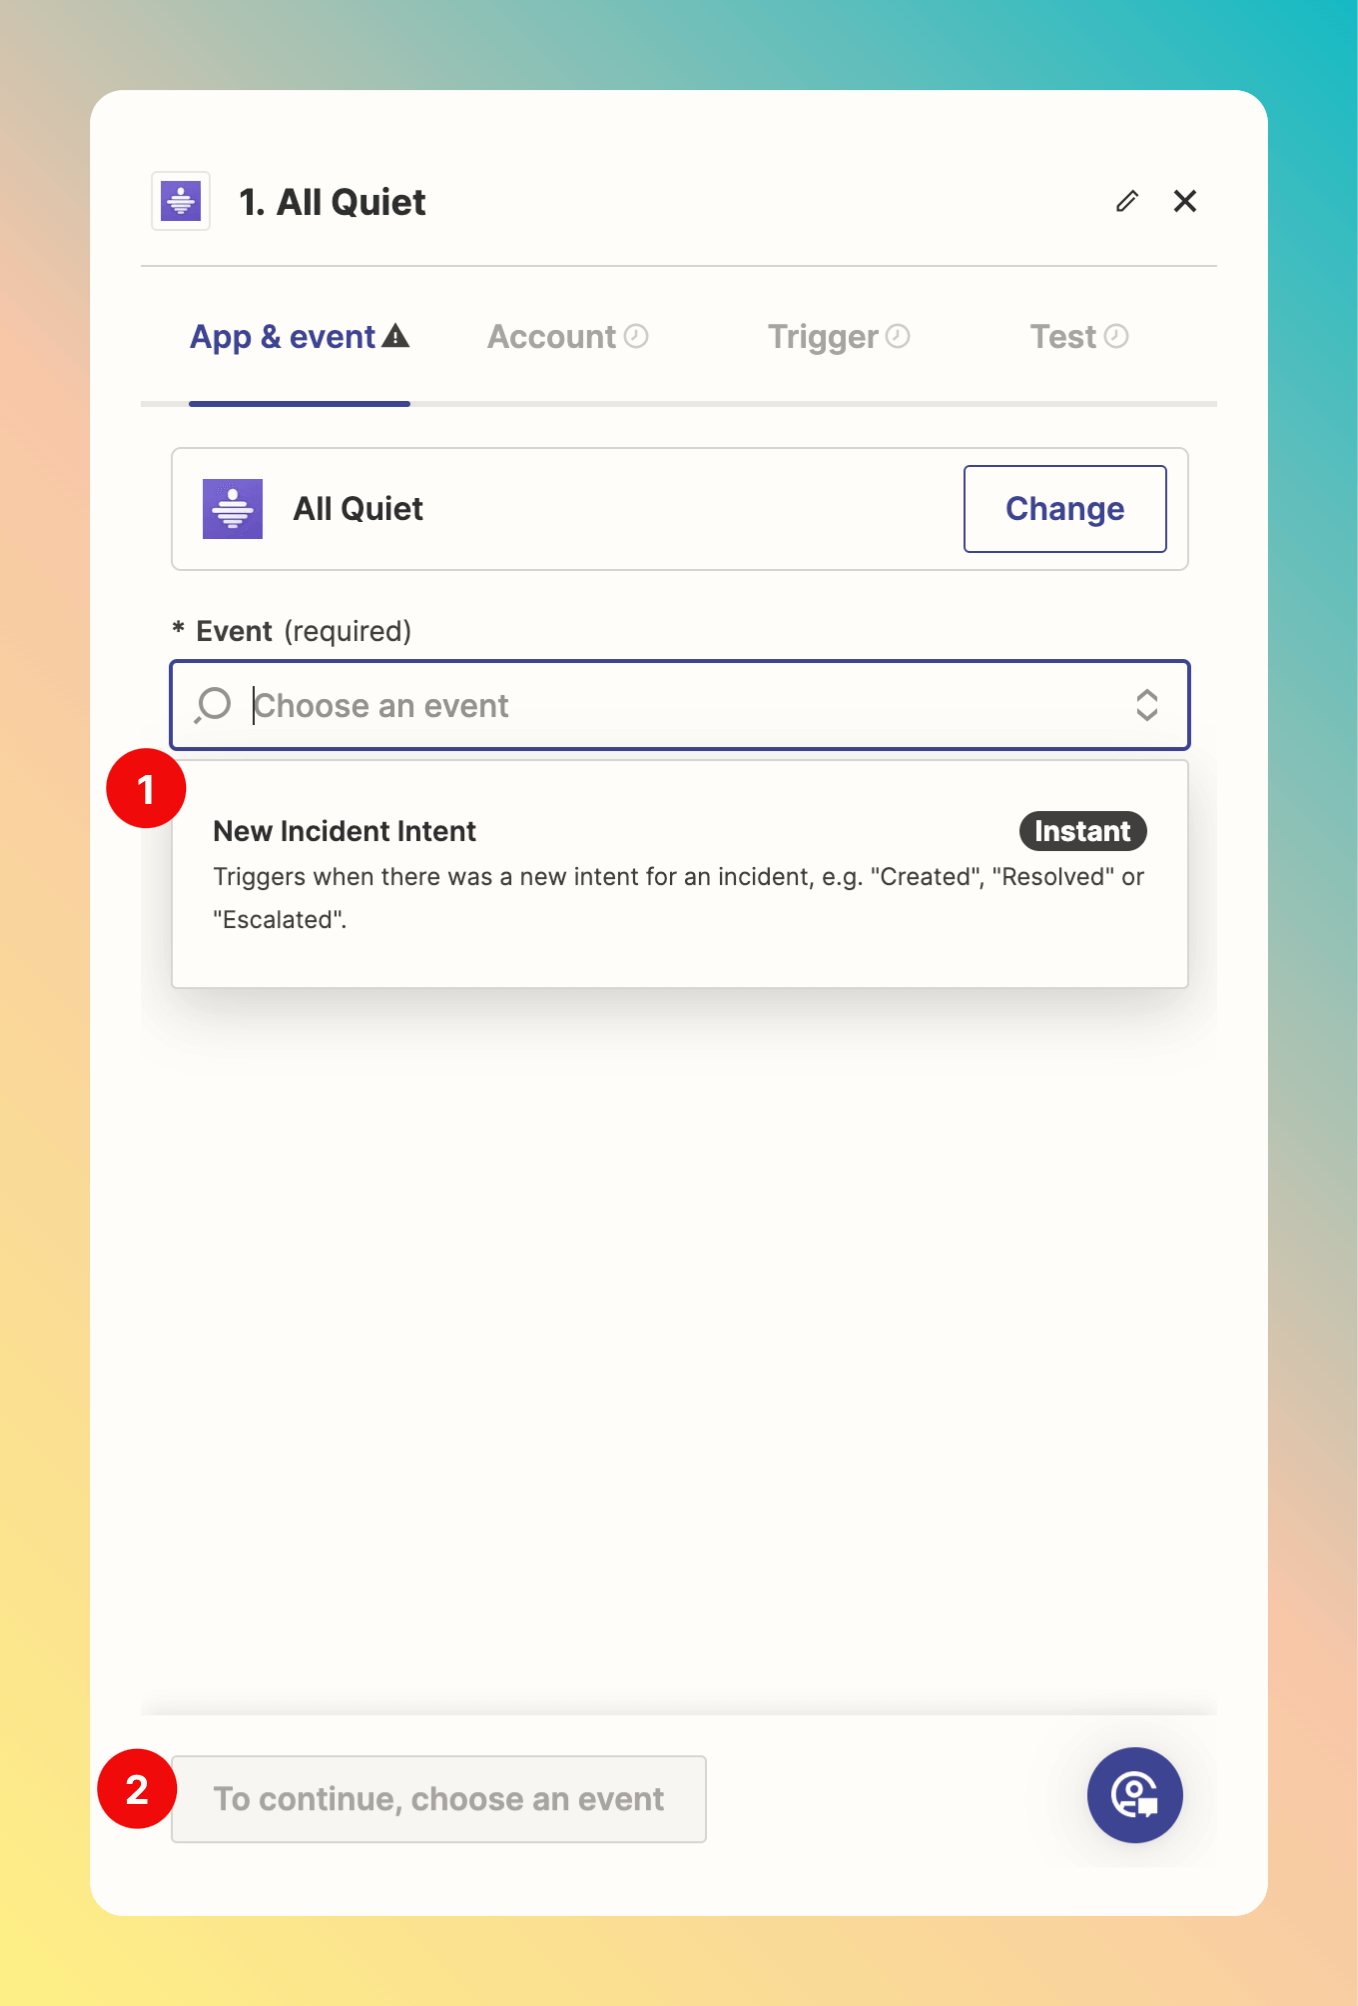
- After selecting the app, you need to choose an Event. As you selected All Quiet as a Trigger, you can only select
New Incident Intent. - After selection, click
Continue.
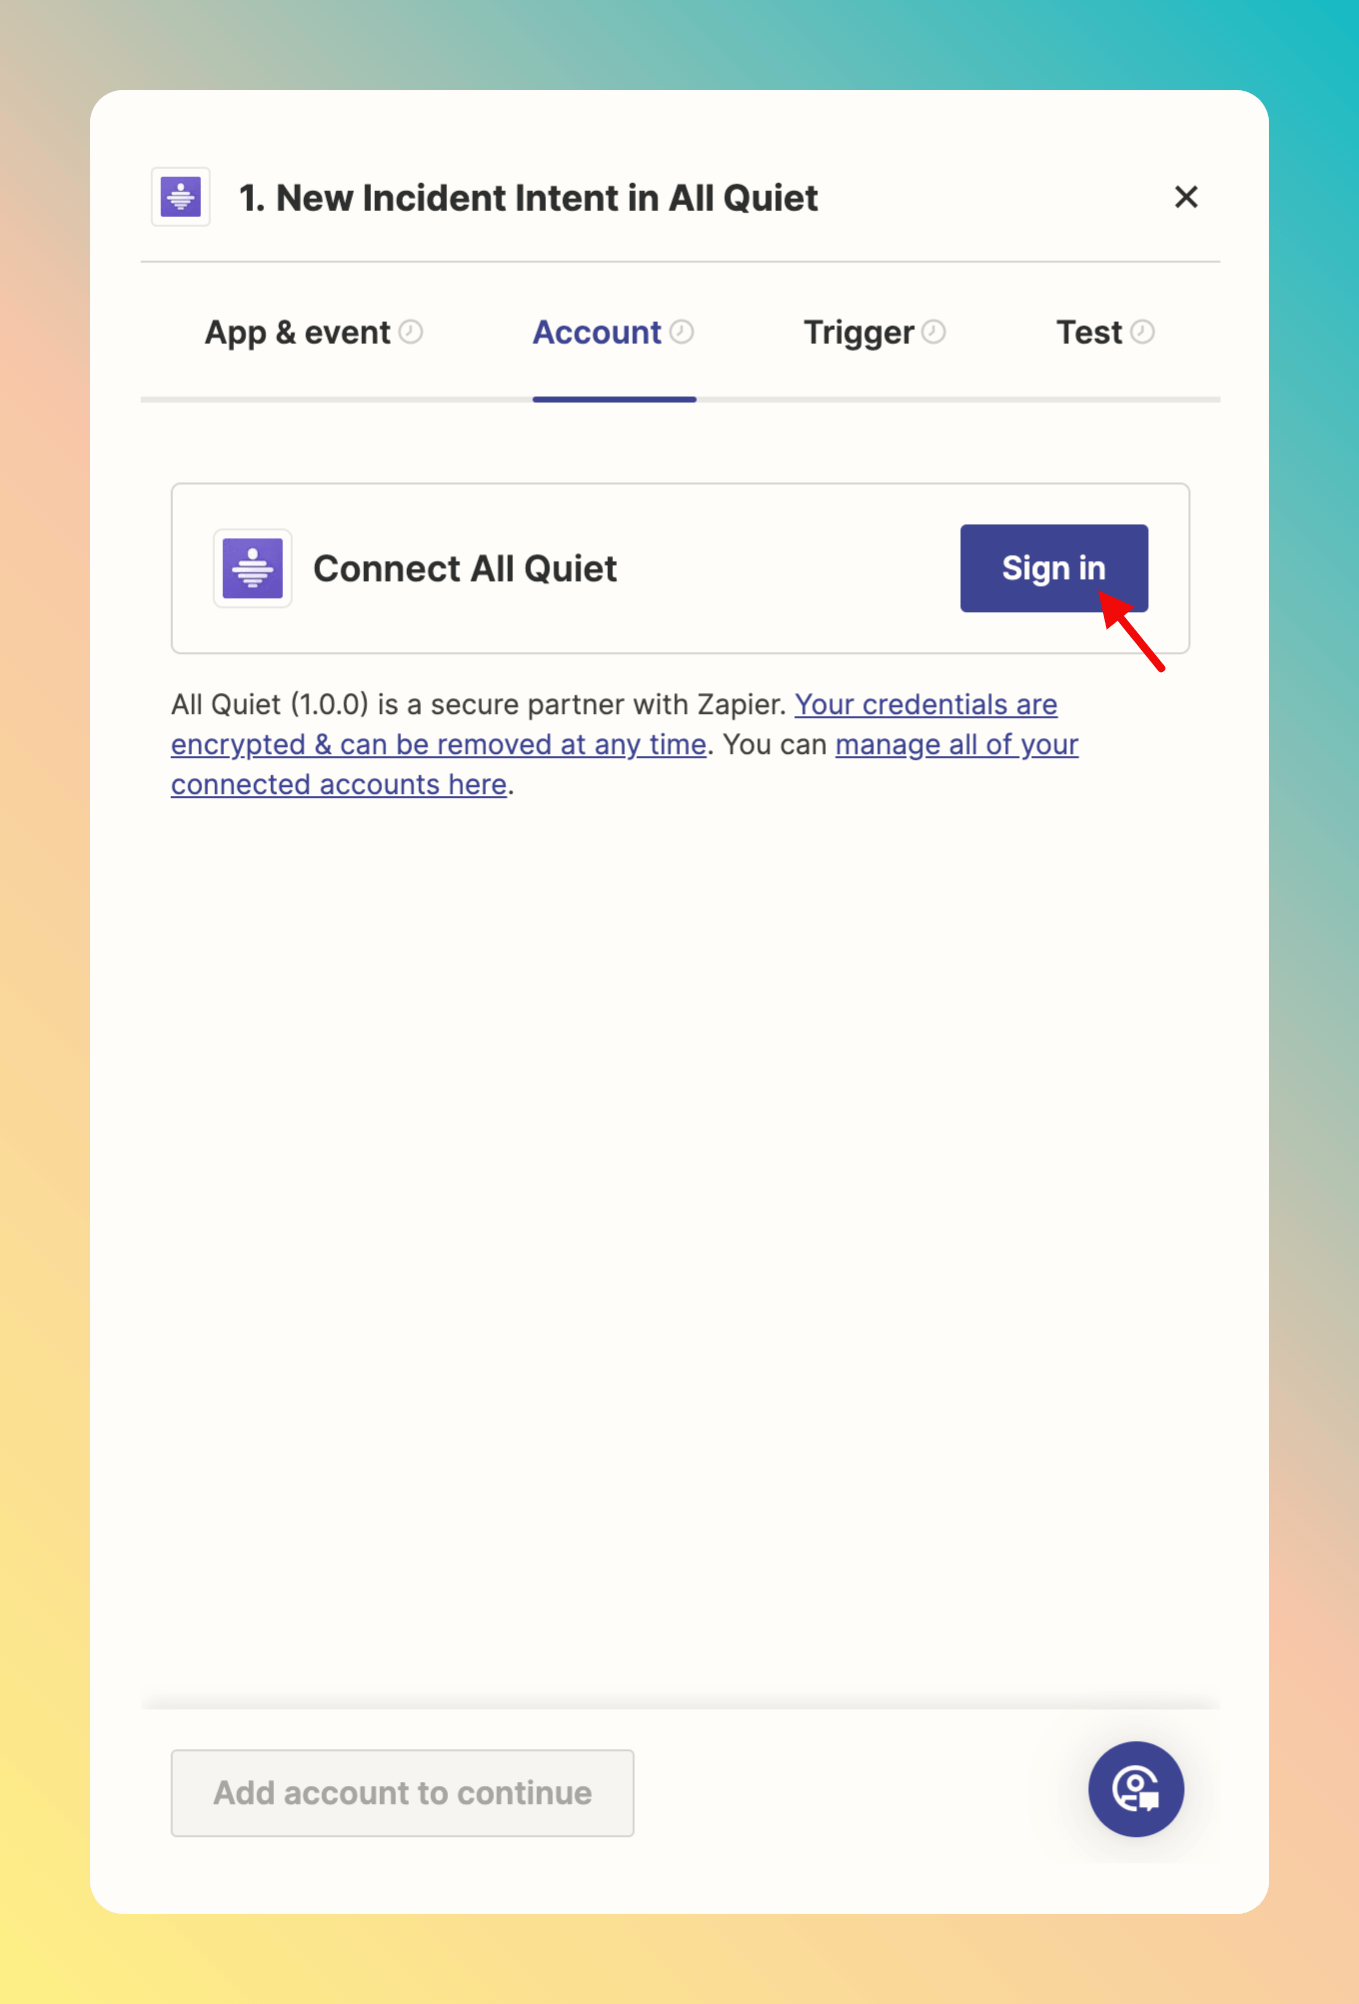
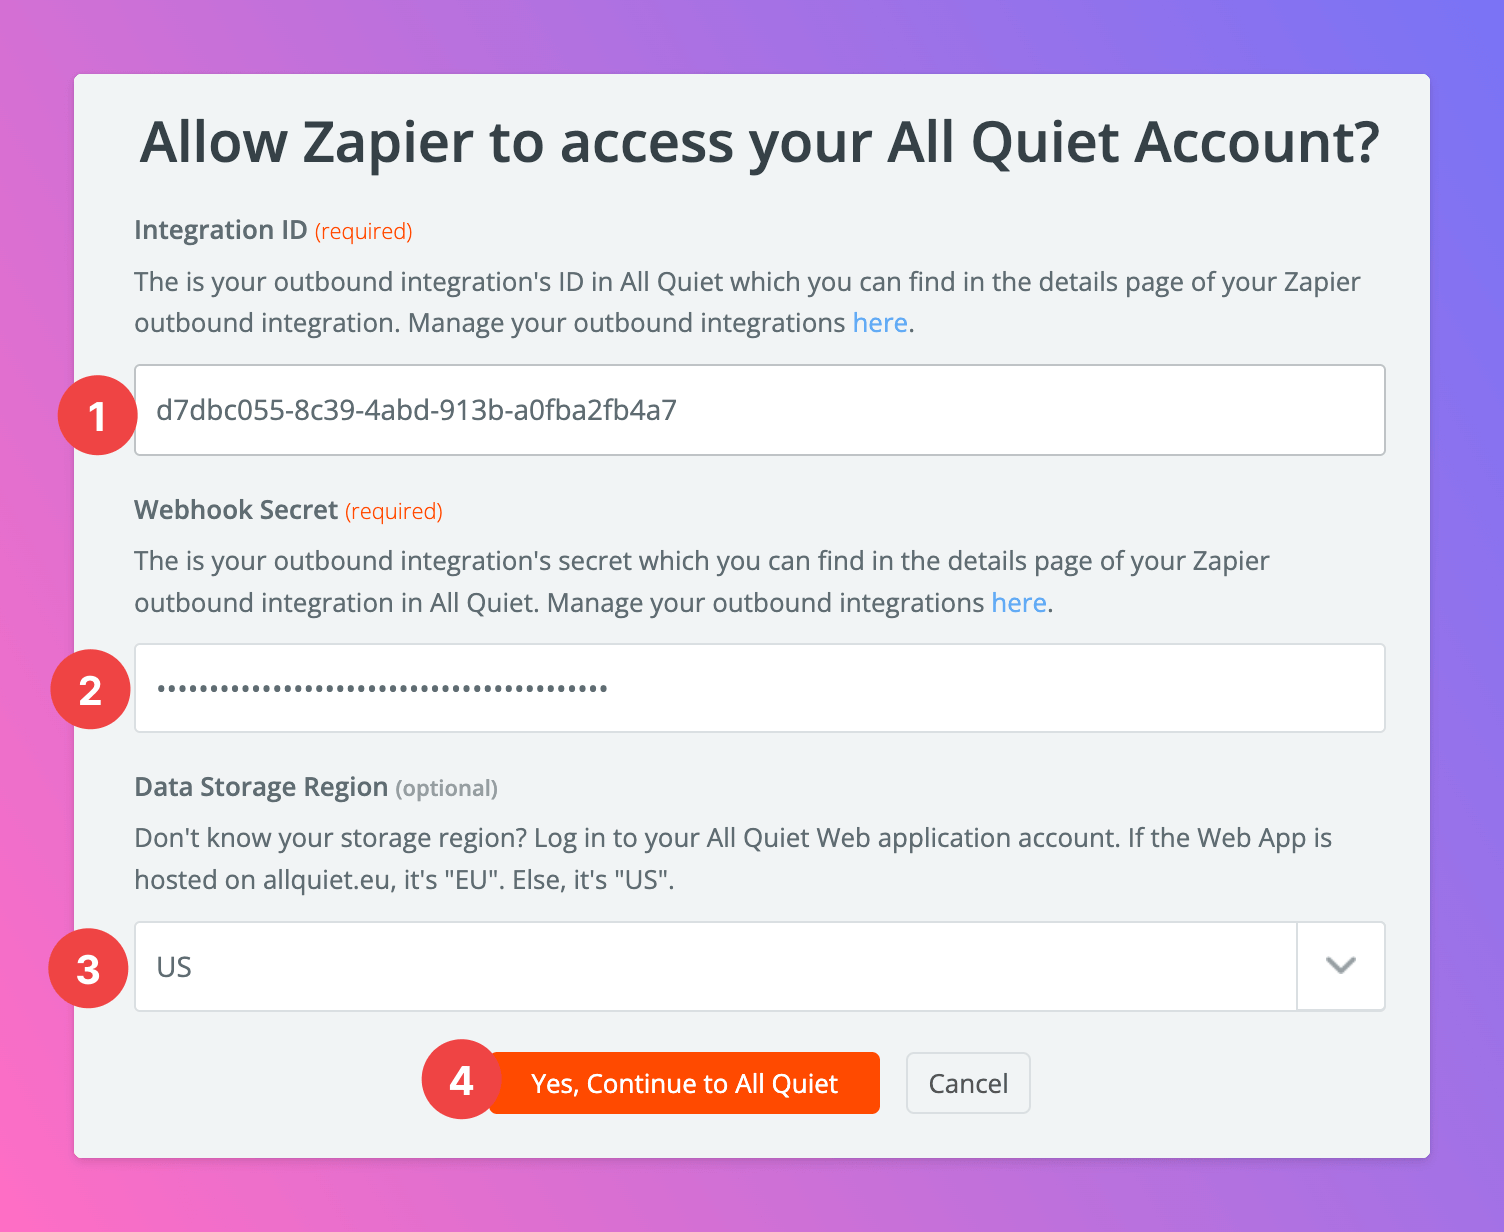
- Integration ID and
- Webhook Secret that you received after creating the outbound integration in All Quiet.
- Also, provide your
Data Storage Region, eitherUSorEU. - After providing the credentials, click
Yes, Continue to All Quiet.

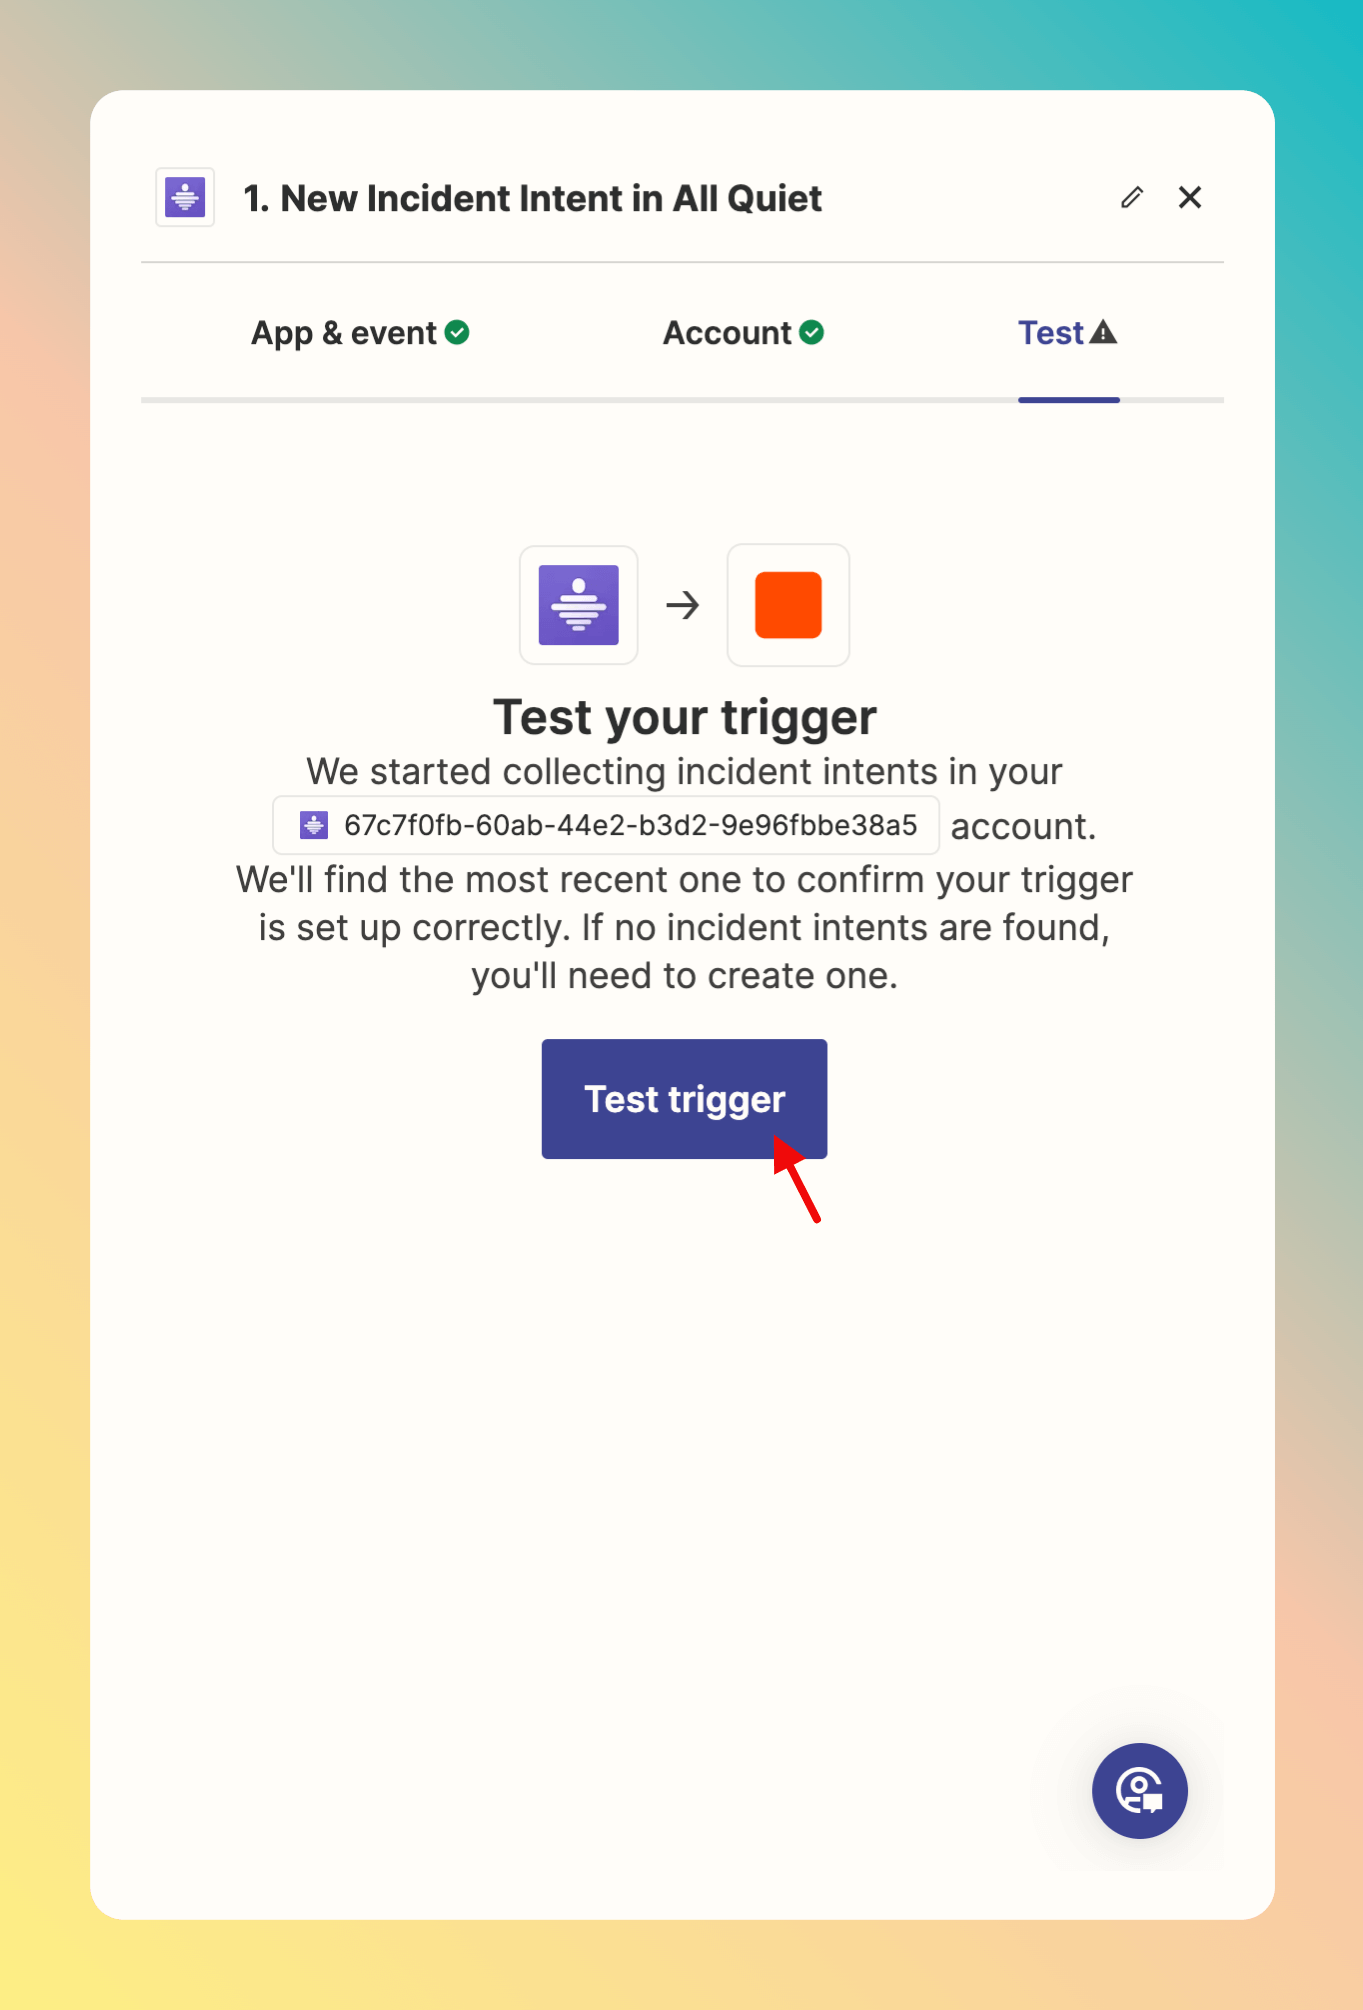
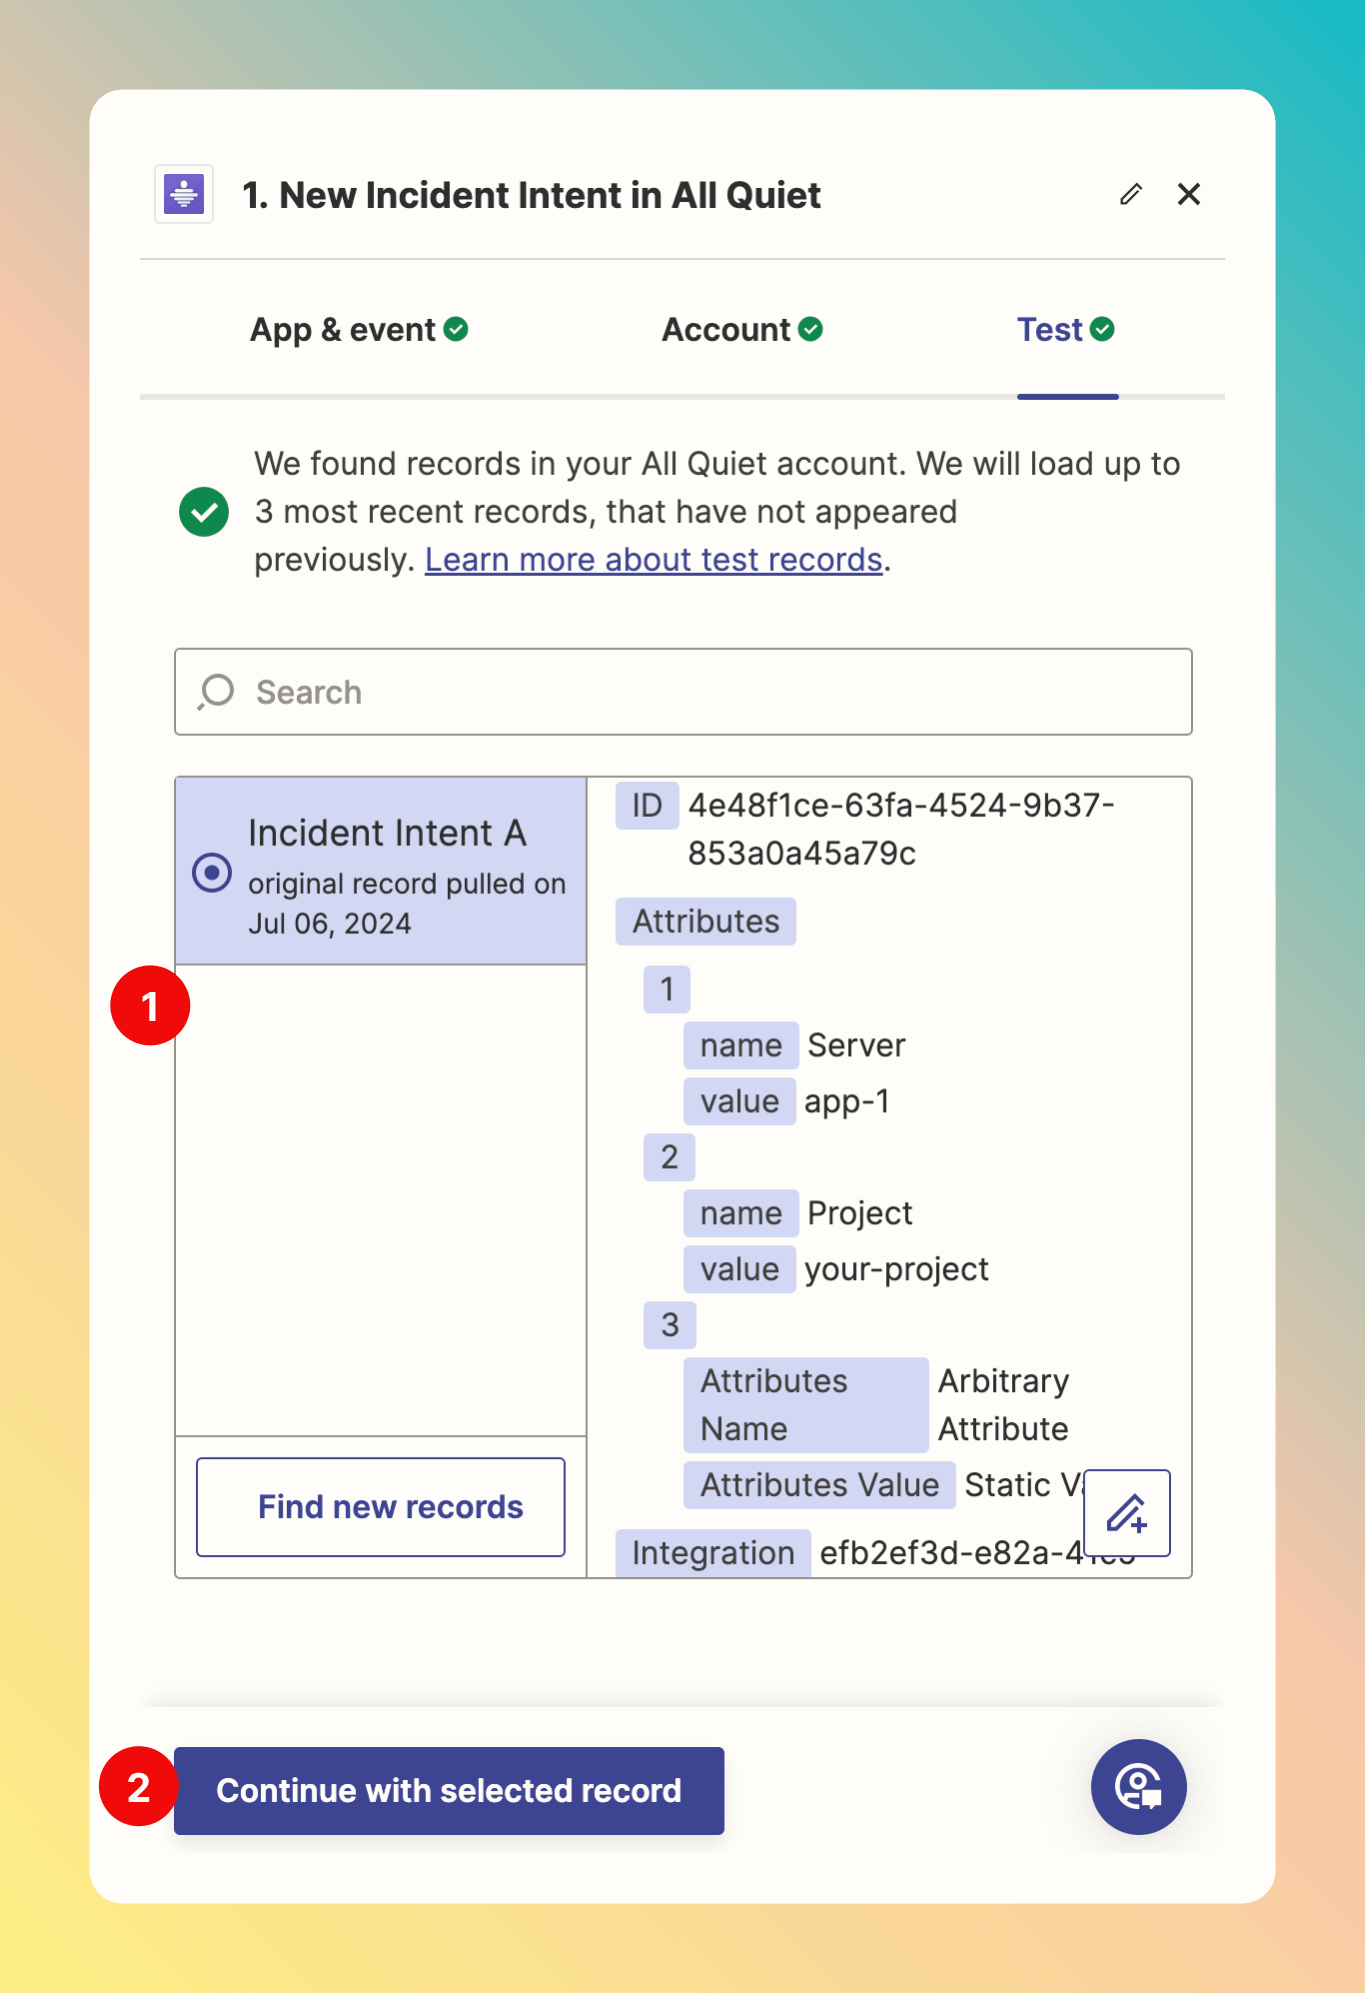
- You can select a payload that you would like to use for the test.
Continue with selected record.
Add an Action based on the All Quiet Trigger
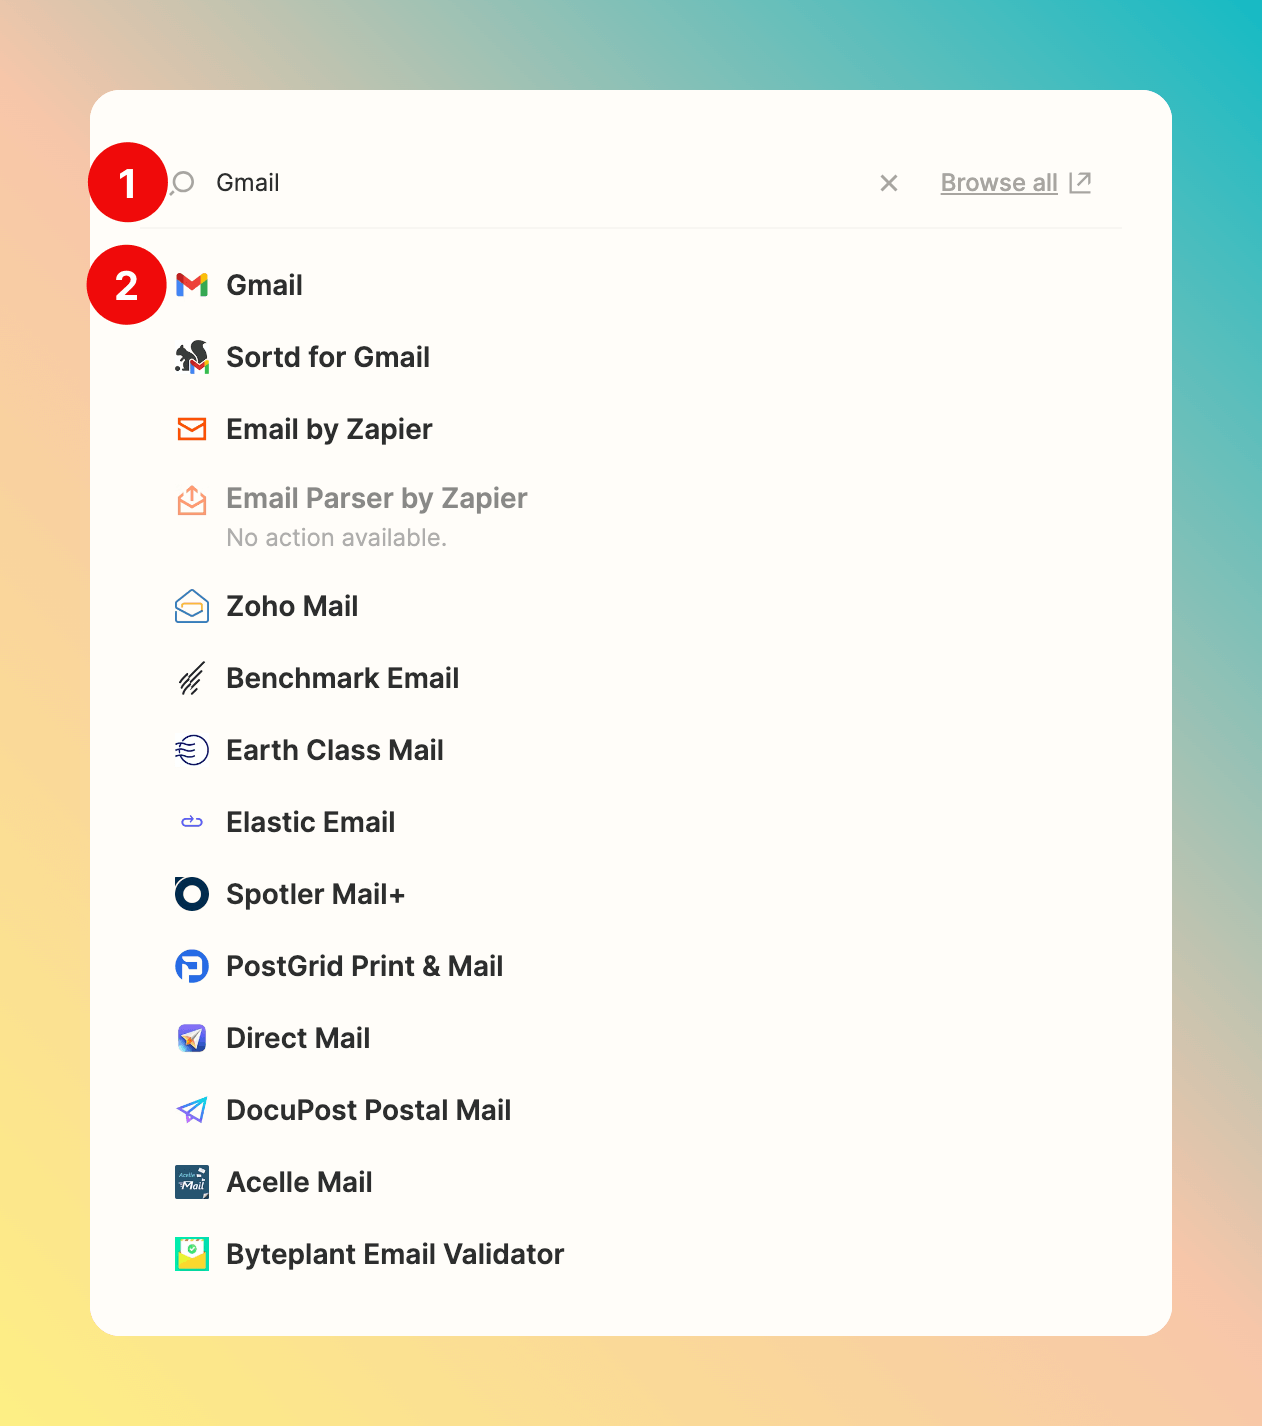
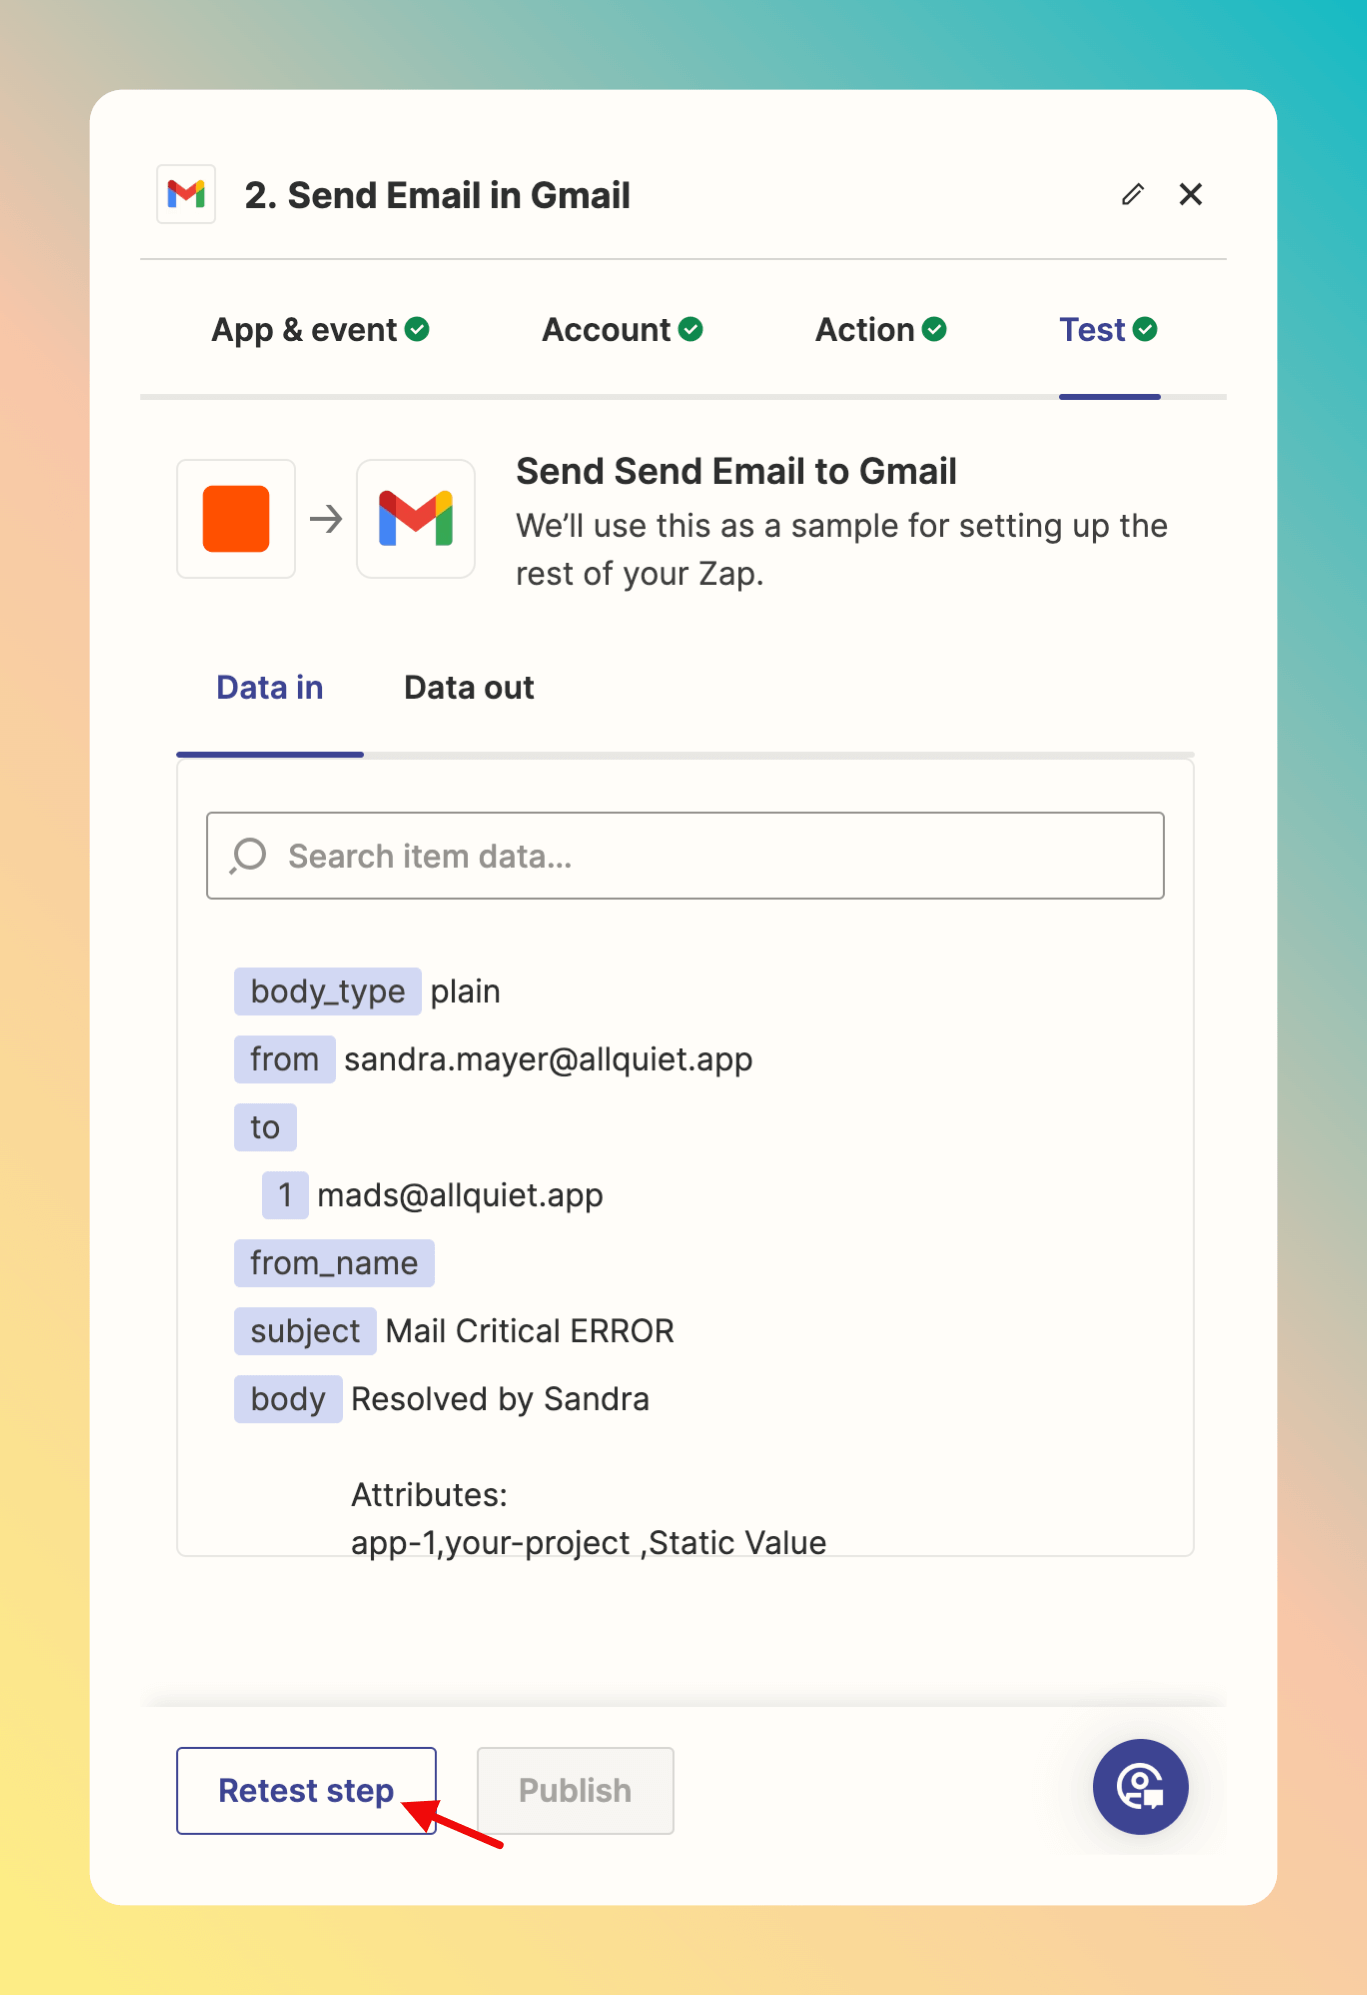
Now, you can select a Zap Action to trigger with you All Quiet incident.In this example, we want to use the All Quiet Trigger to send a new email via the Zapier Gmail integration. Instead of using Gmail, you could also use other Zapier integrations for an Action.
- Search for Gmail.
- Select it.

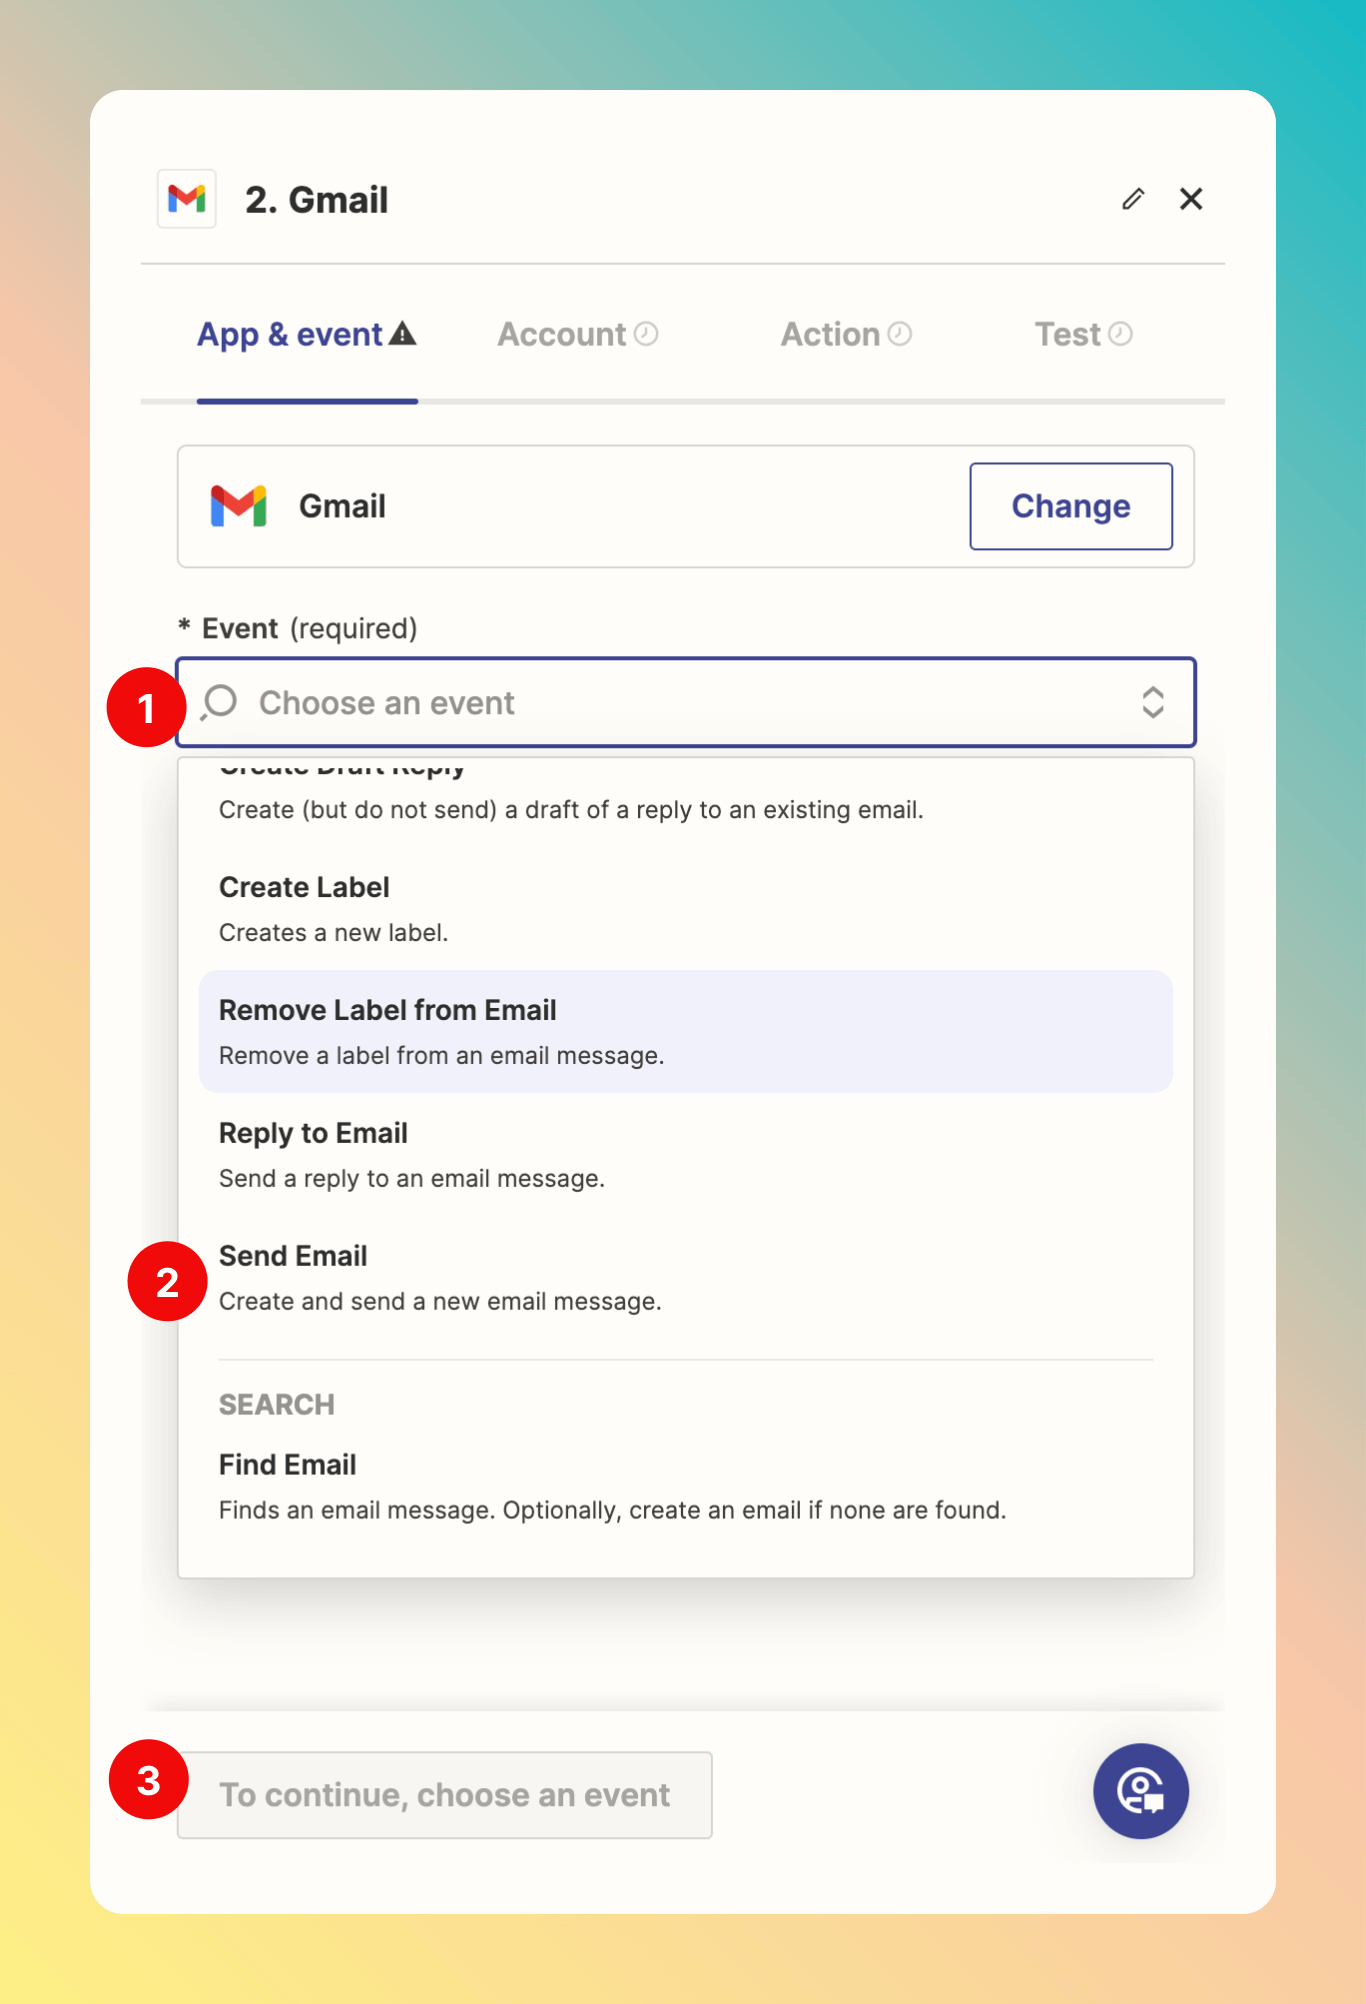
- Select an Event supported by the Gmail integration.
- Here, we choose “Send Email”.
- Click
Continue.
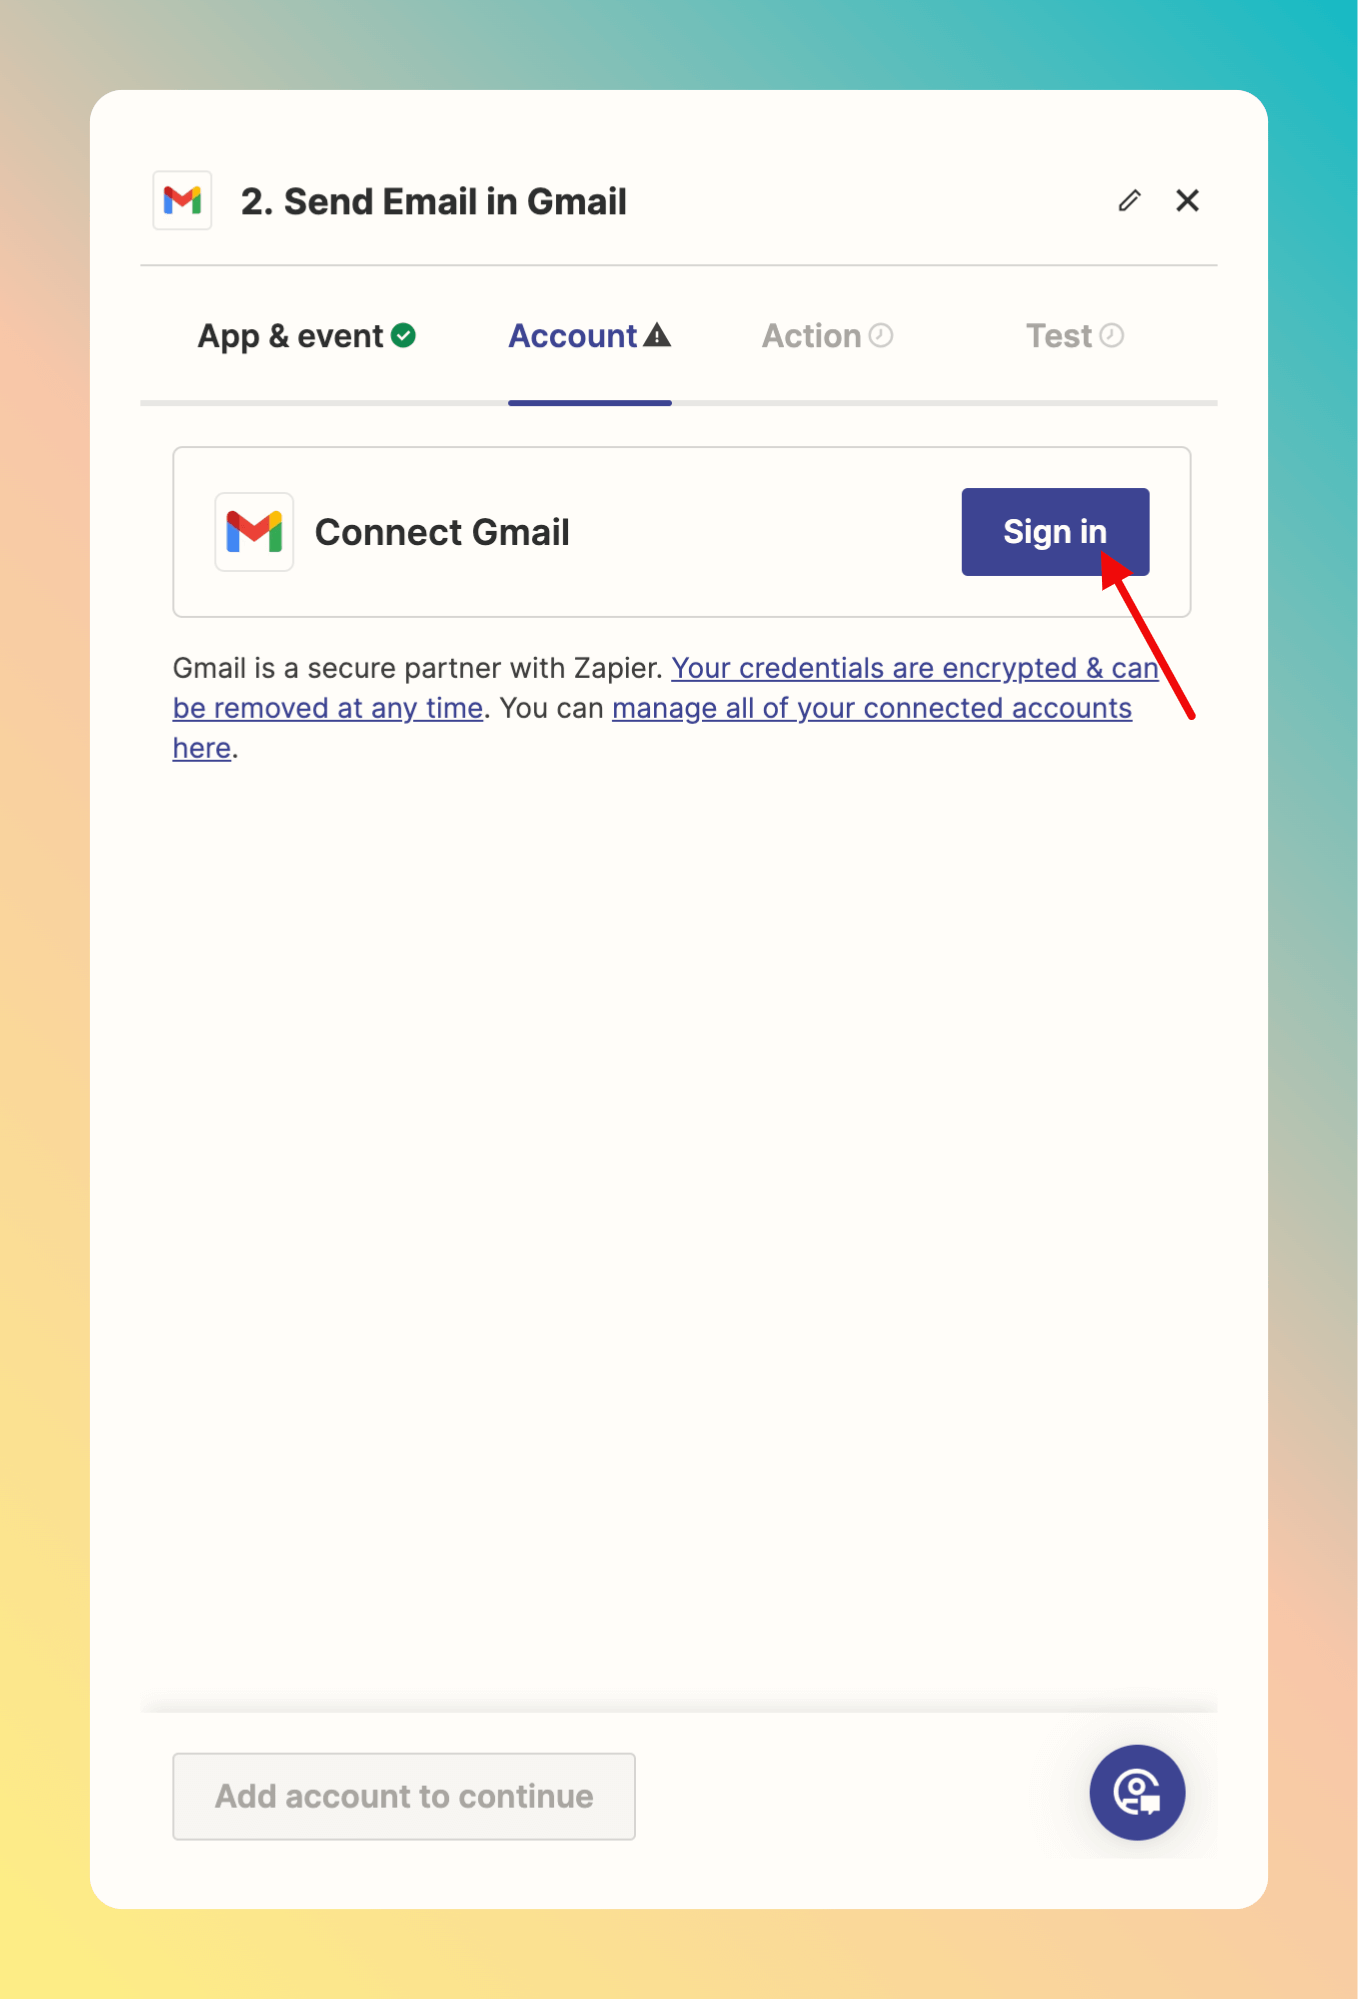
Continue to configure your action.
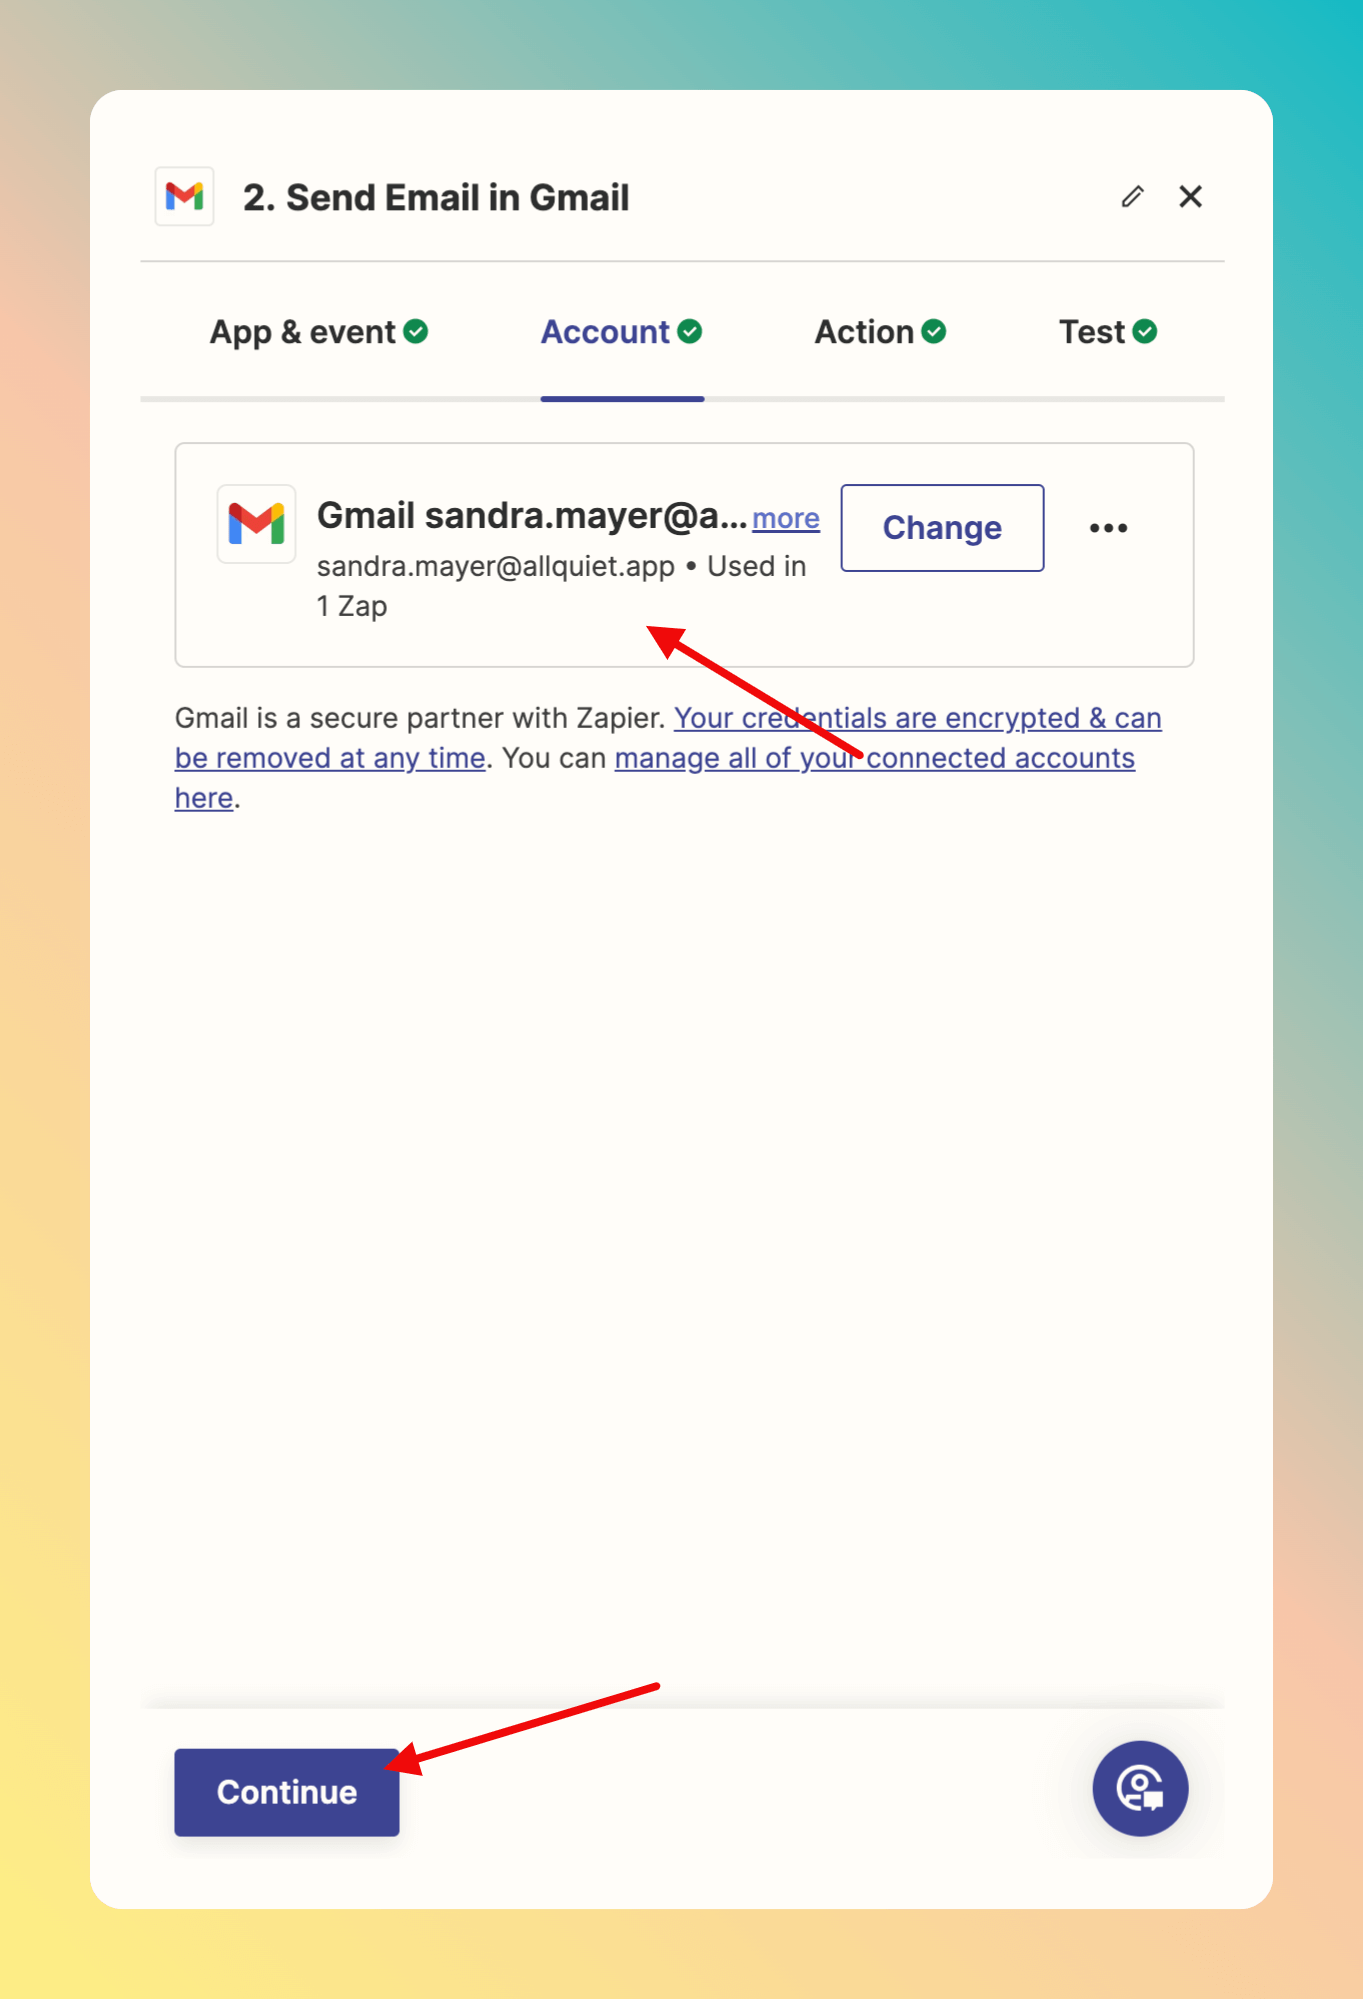
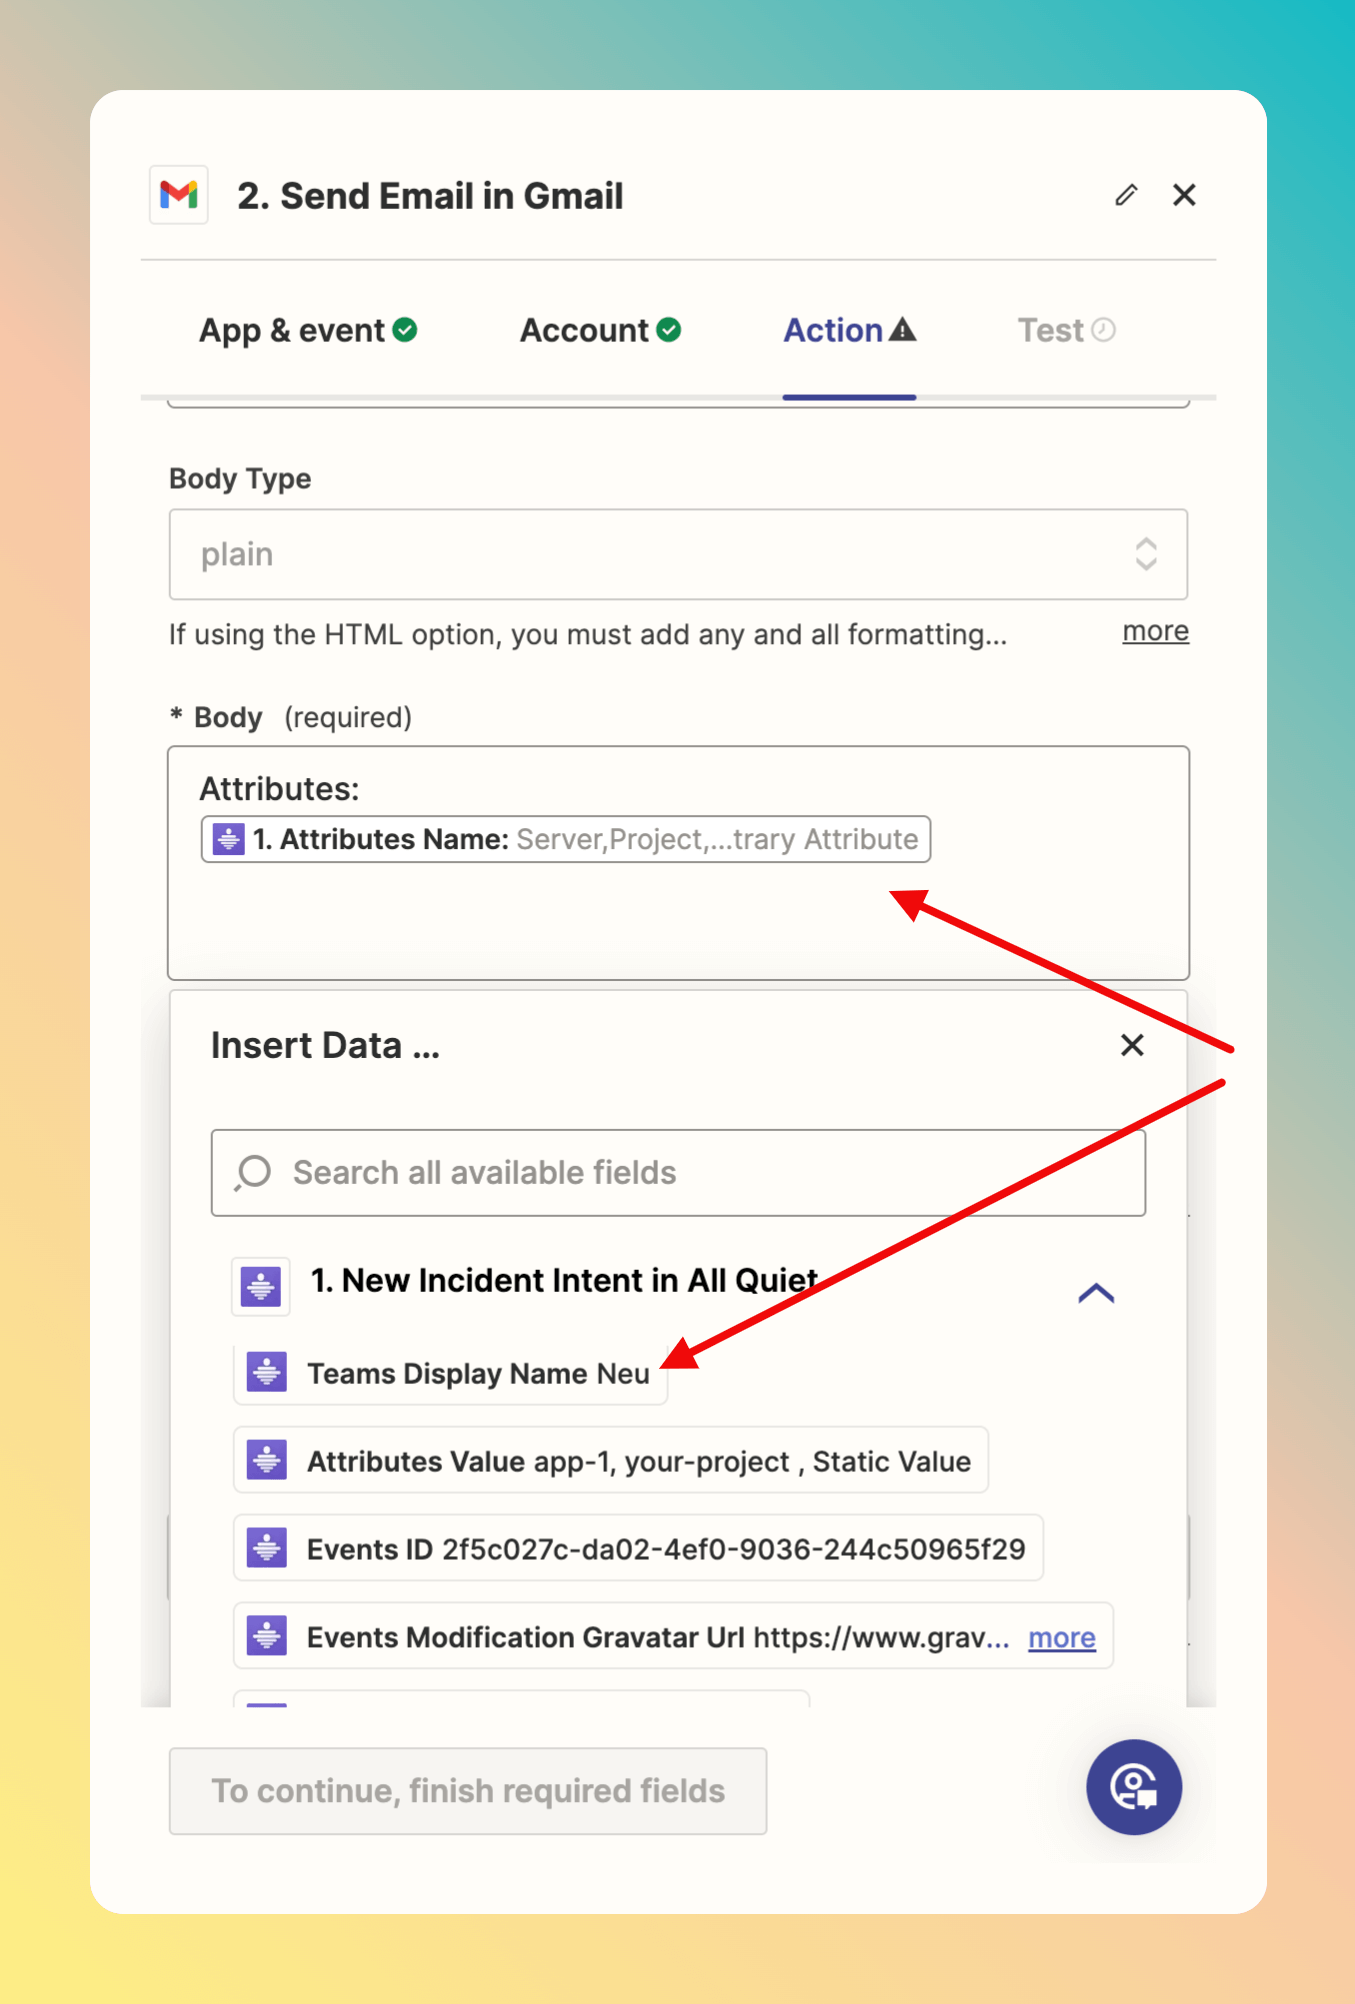
Continue.

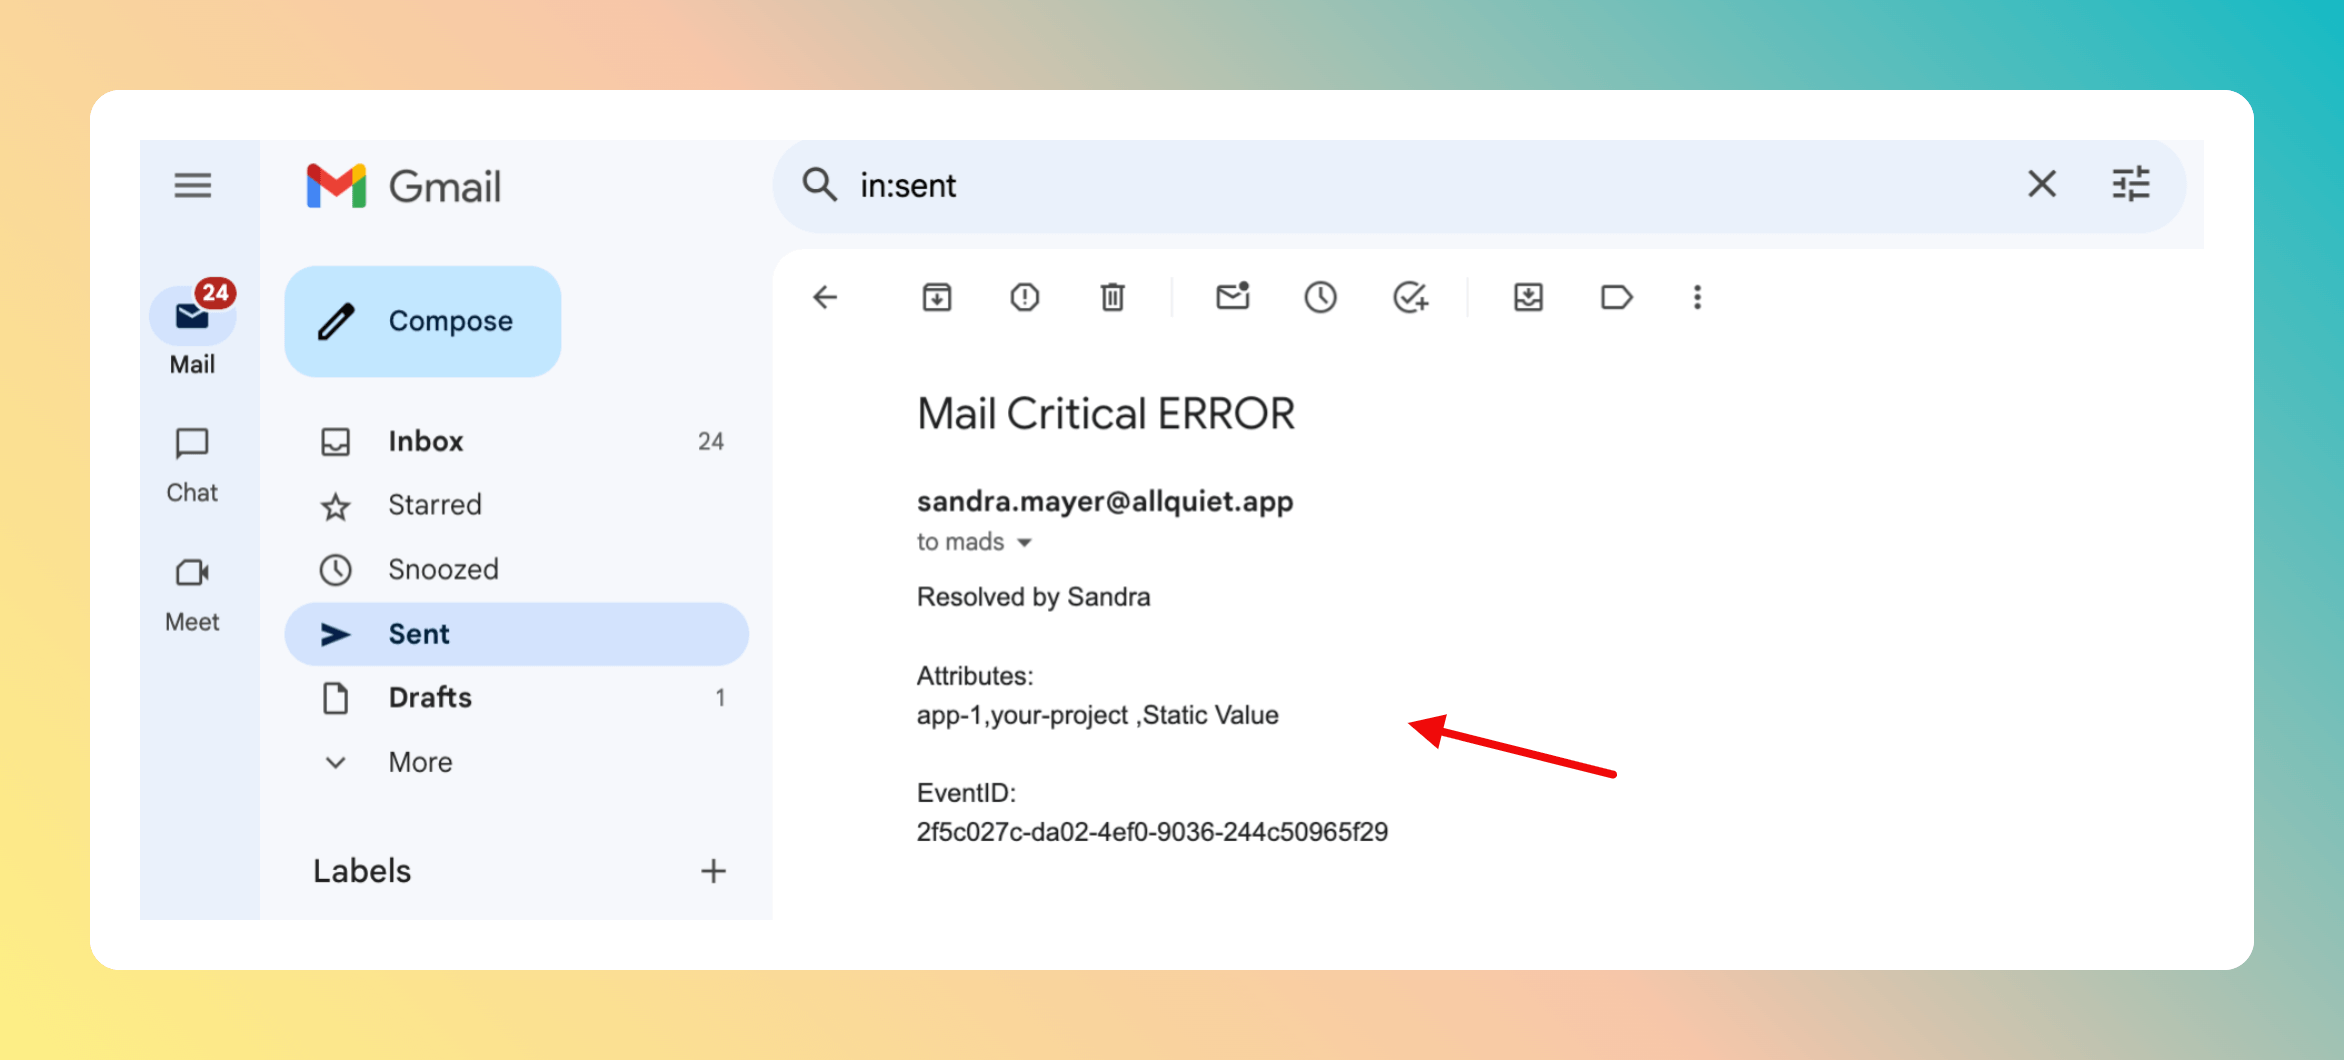

You successfully set up your Zapier Outbound Integration!