Set up All Quiet Terraform Provider
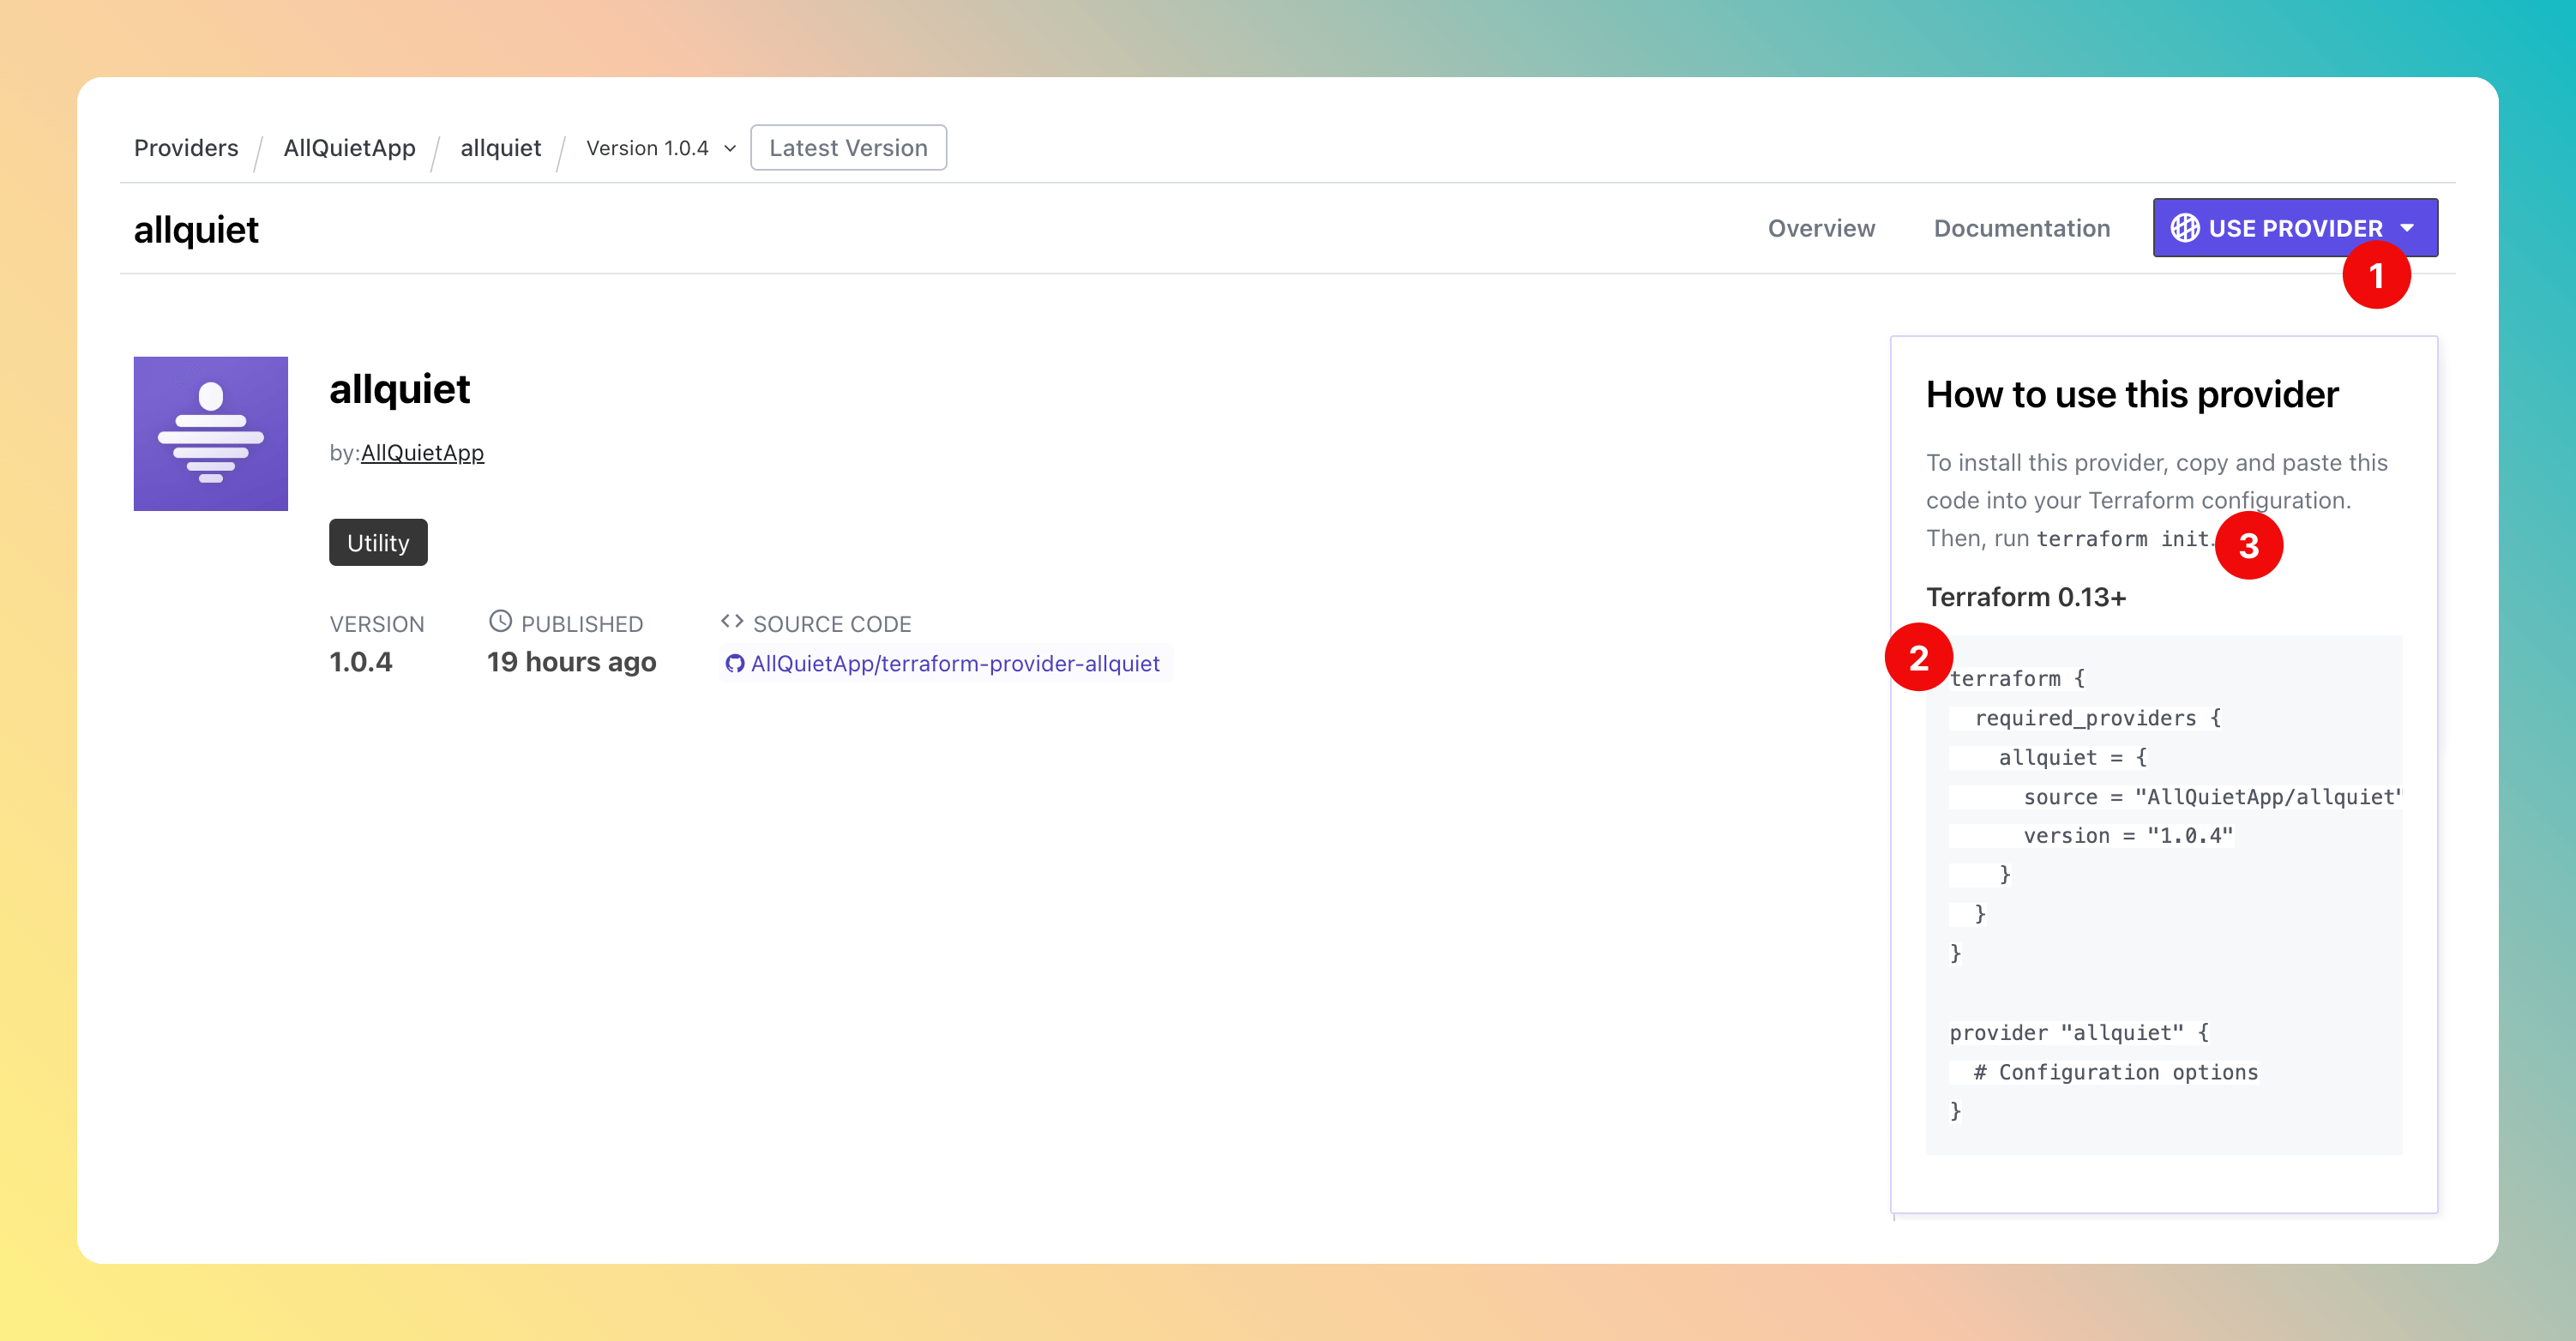
Open the latest version of the All Quiet Terraform Provider.- Click on
Use Provider. - Copy the code and paste it into your terraform configuration file. If you haven’t set up a terraform file yet, follow the instructions on Terraform’s website.
- Run
terraform initin your terminal.
Create API Key
Creating an API Key requires you to be the Owner or Administrator of an Organization. To set up an Organization, please follow the related documentation.
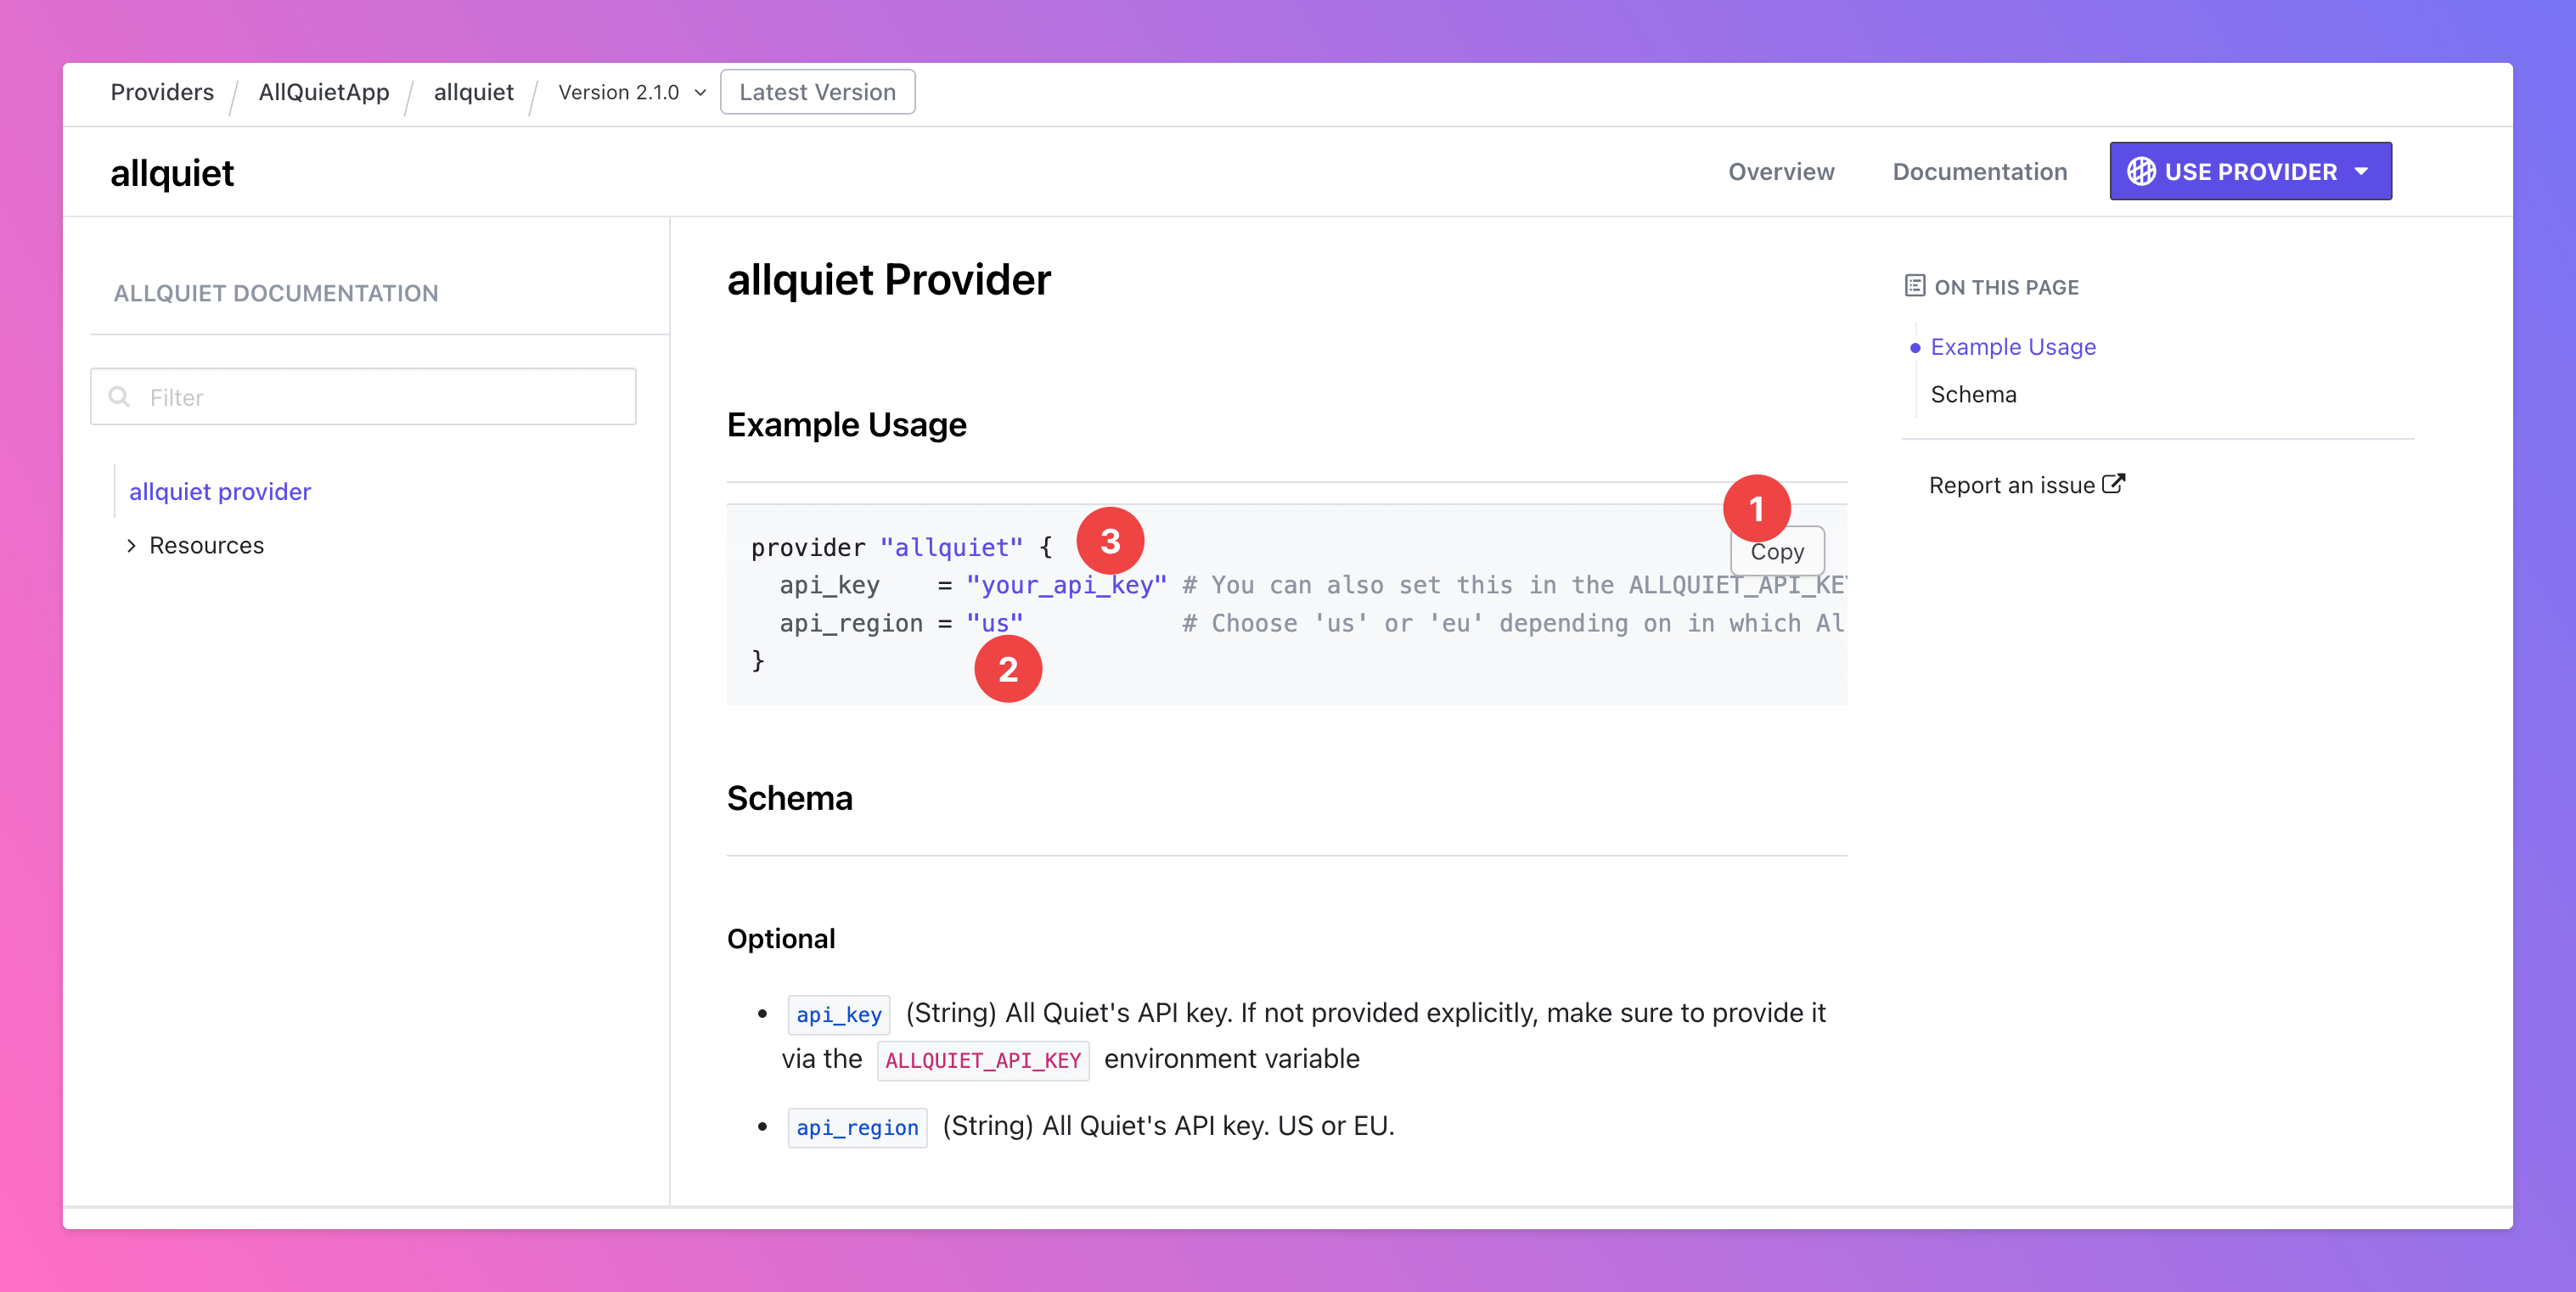
- Copy the code snippet and paste it into your configuration file.
- In the file, set your
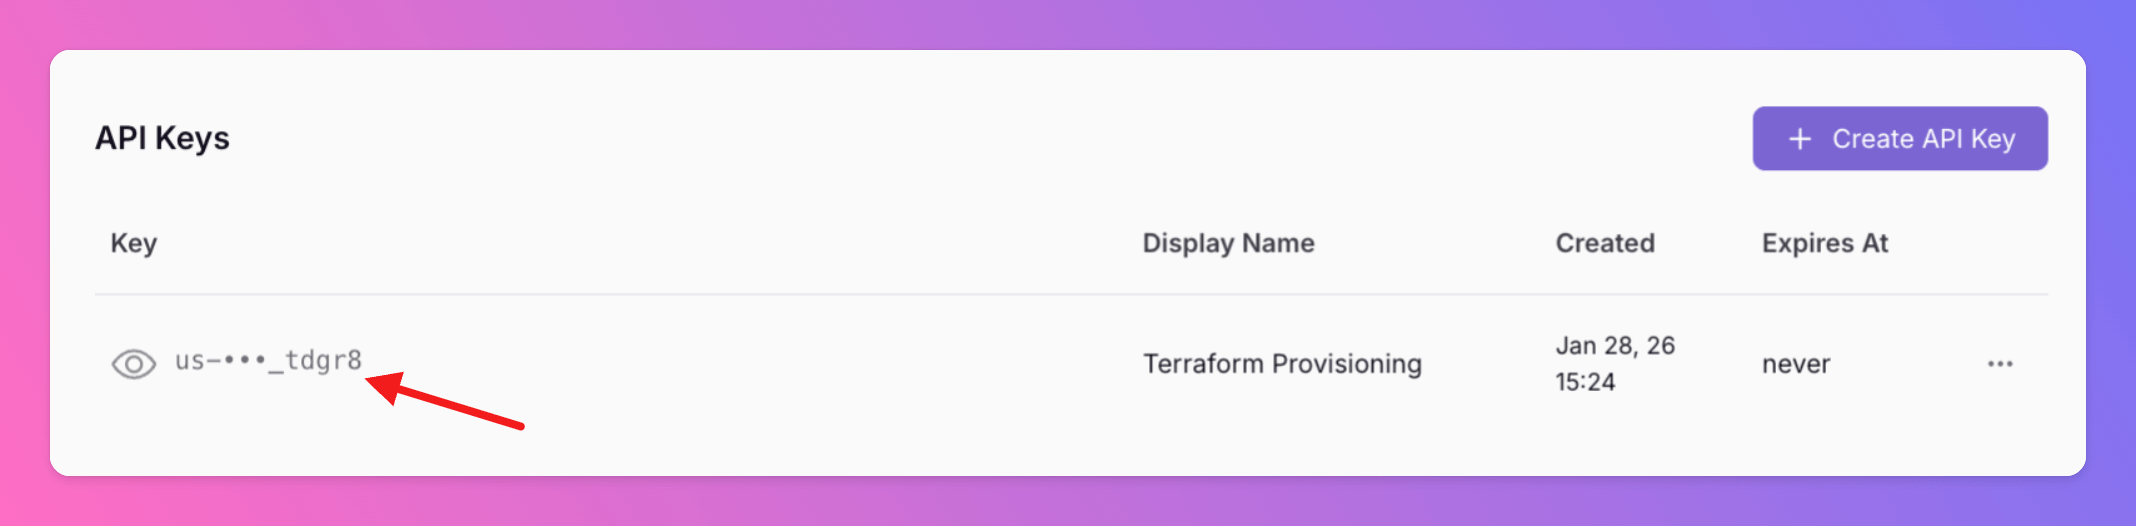
api_regiondepending on your organization’s data storage region. - Next, you need to generate “your_api_key”.
- In the Web App, open
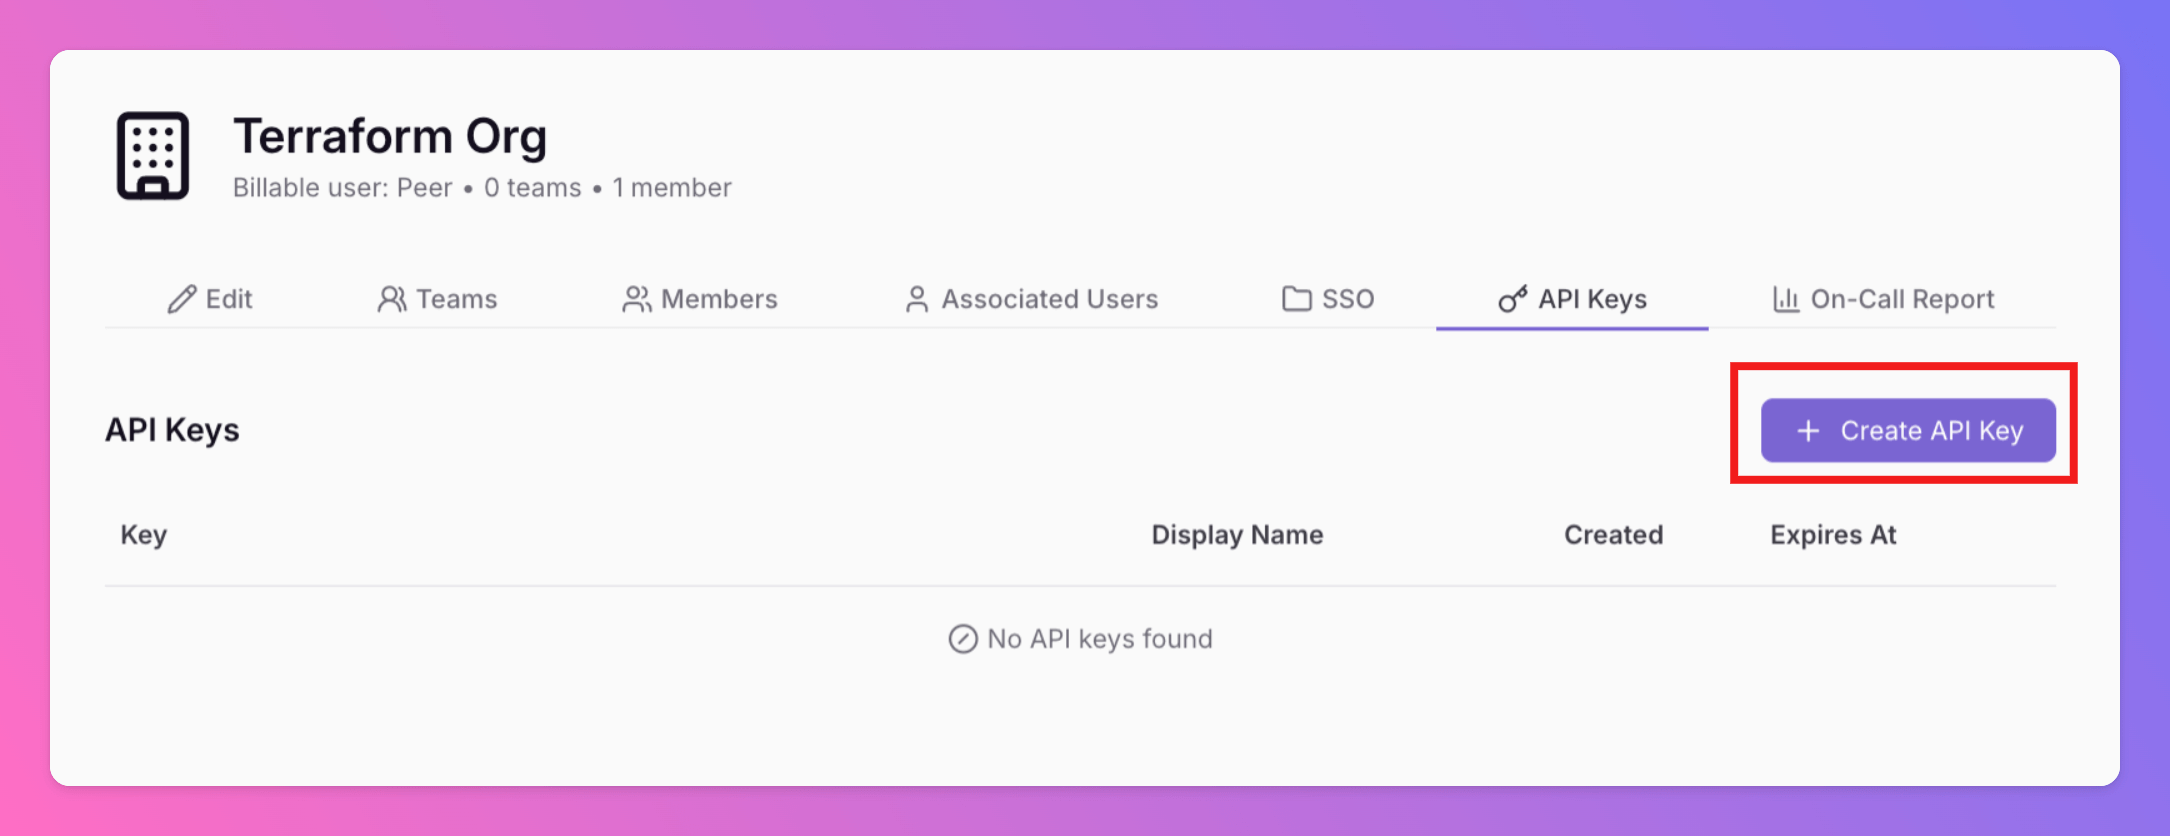
Organizations. - Select the correct Organization and click
API Keys
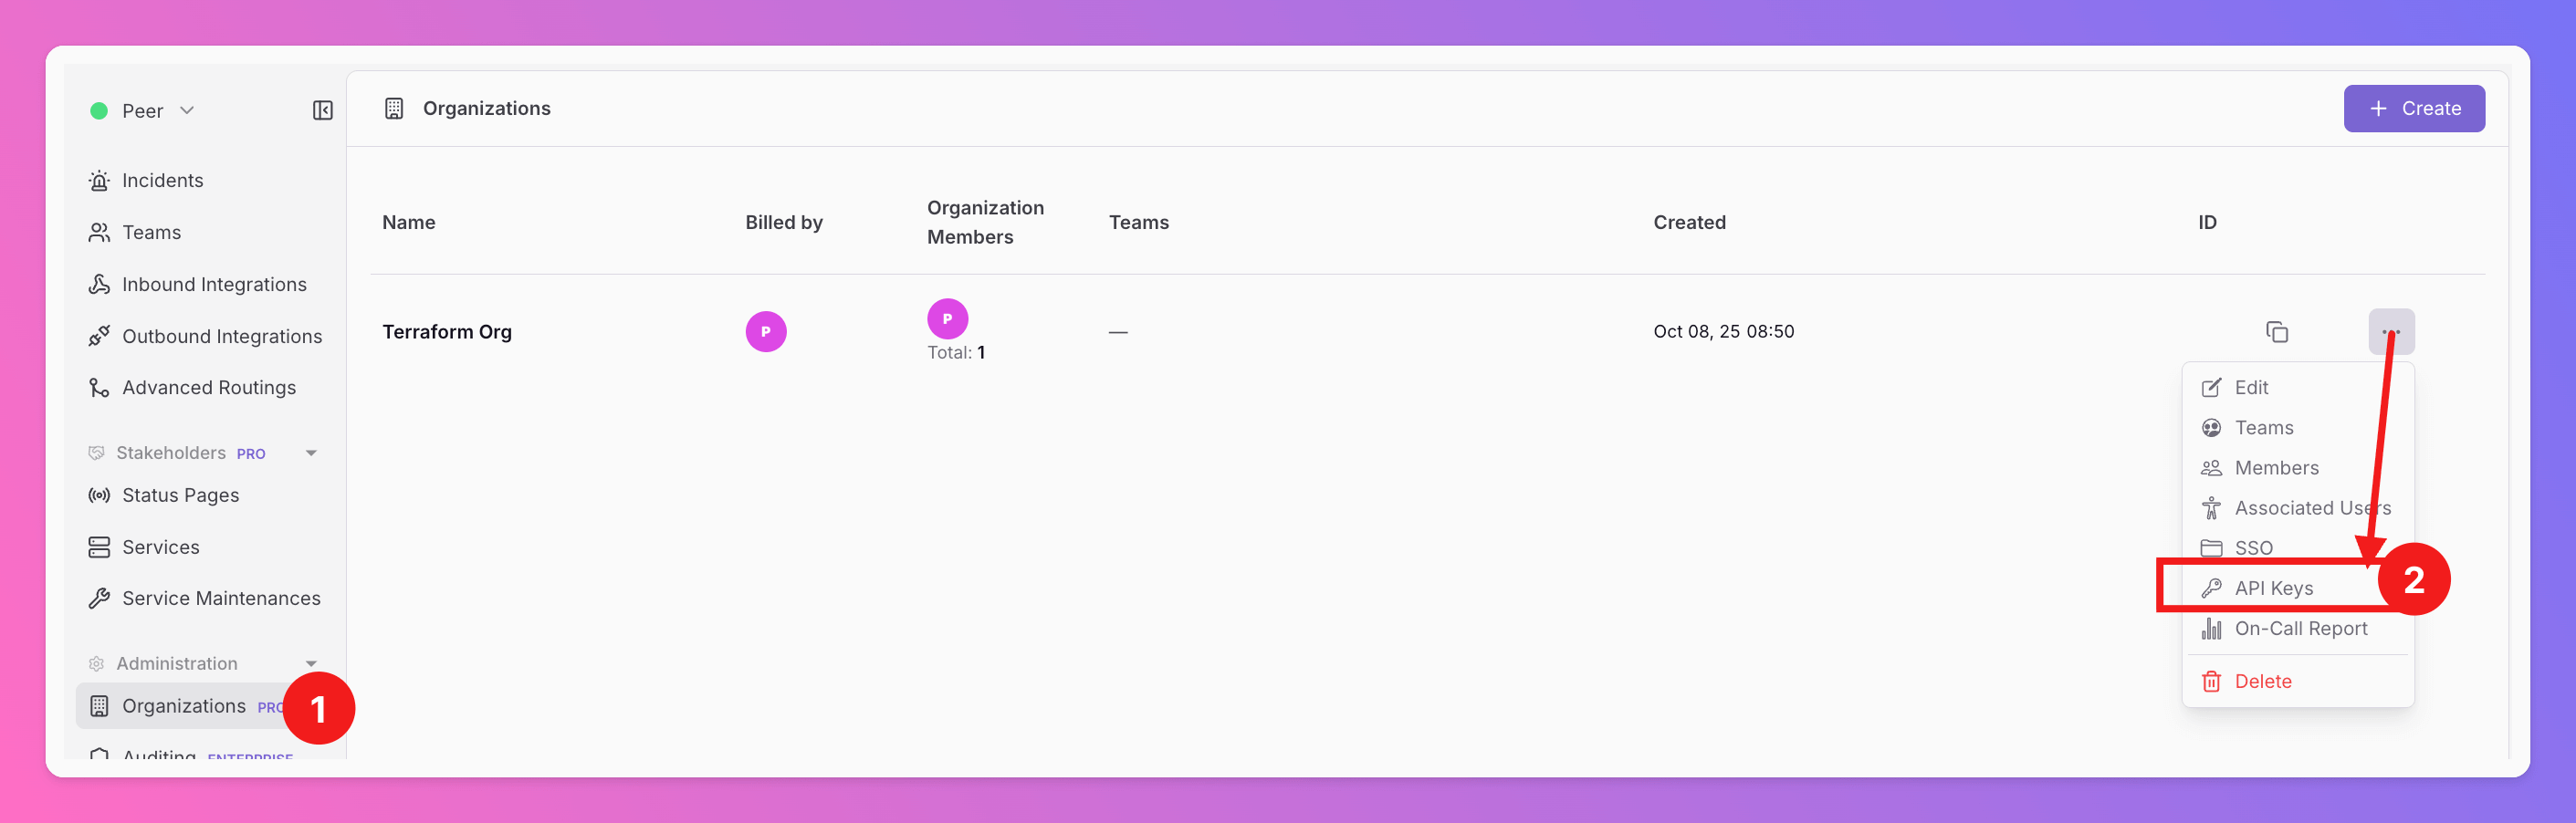
+Create API Key
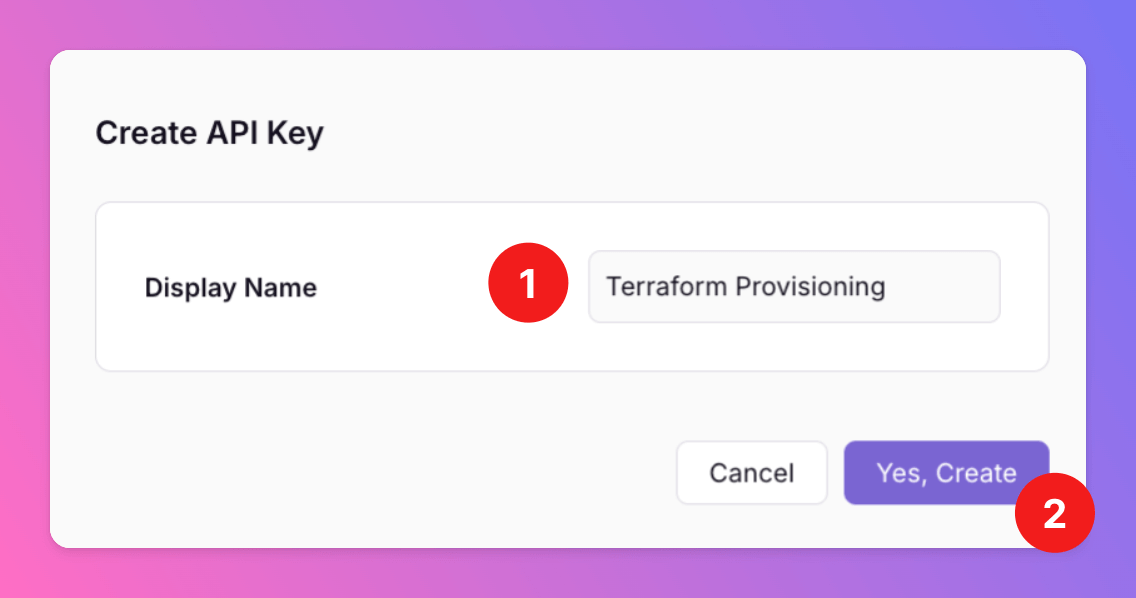
- Add a
Display Namefor your API Key. - Approve the API Key creation by clicking
Yes, Create.

Congrats, your good to go and can use All Quiet via Terraform!
All Quiet Resources in Terraform
Please find the documentation of our resources attached.- allquiet_user
- allquiet_user_incident_notification_settings
-
Since Terraform Provider
v3.0.0, incident notification settings are managed via this dedicated resource. It replacesincident_notification_settingspreviously configured inside theallquiet_userresource.
-
- allquiet_team
- allquiet_team_memberships
- allquiet_team_escalations
- allquiet_on_call_override
- allquiet_integration
- allquiet_integration_mapping
- If you don’t use this resource, your integrations will implicitly follow our default mappings. If you want to adjust the mapping, we’ve prepared template
allquiet_integration_mapping.- Template Download (Example with Integration_ID = “Datadog”): https://allquiet.app/api/integrations/terraform/default/Datadog.tf.
- Each Integration_ID can be found here: https://allquiet.app/api/public/v1/inbound-integration/types
- If you don’t use this resource, your integrations will implicitly follow our default mappings. If you want to adjust the mapping, we’ve prepared template
- allquiet_integration_maintenance_window
- allquiet_outbound_integration
- allquiet_routing
- allquiet_organization_membership
-
There’s no
allquiet_organizationresource as the API Key you use for your Terraform config is always bound to a specific organization. Allallquiet_organization_membershipresources are bound to this organization
-
- allquiet_service
- allquiet_status_page
Provisioned Resources Cannot Be Edited Via Web App
To ensure that the resources managed by your Terraform provider stay in sync with your setup, we lock provisioned resources within the Web App. This means these resources cannot be edited or deleted directly through the Web App’s interface. Provisioned resources are marked with an icon, and hovering over it will display a message explaining why the resource is locked and cannot be modified via the Web App.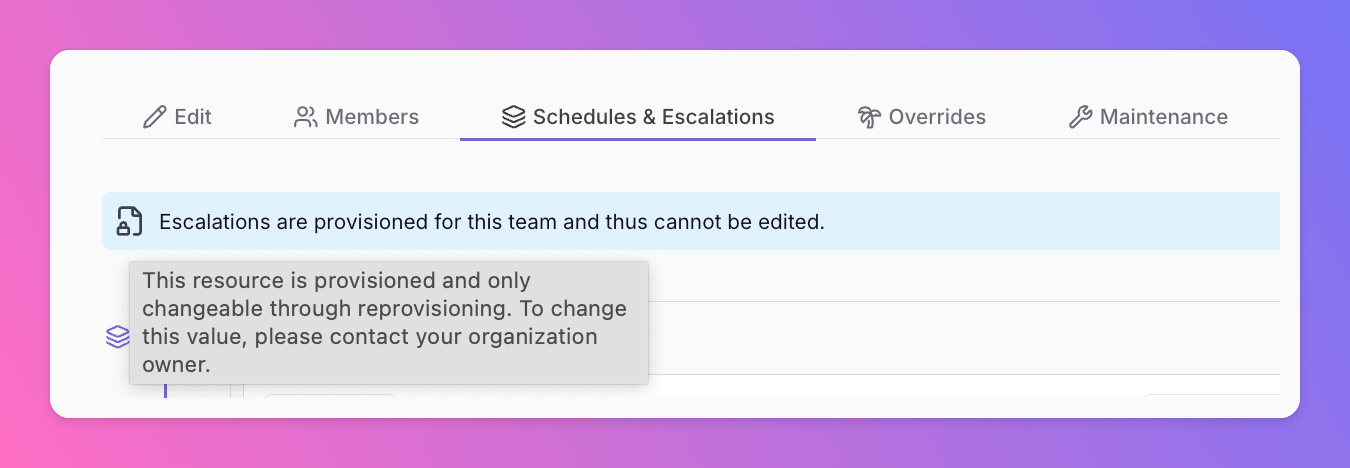
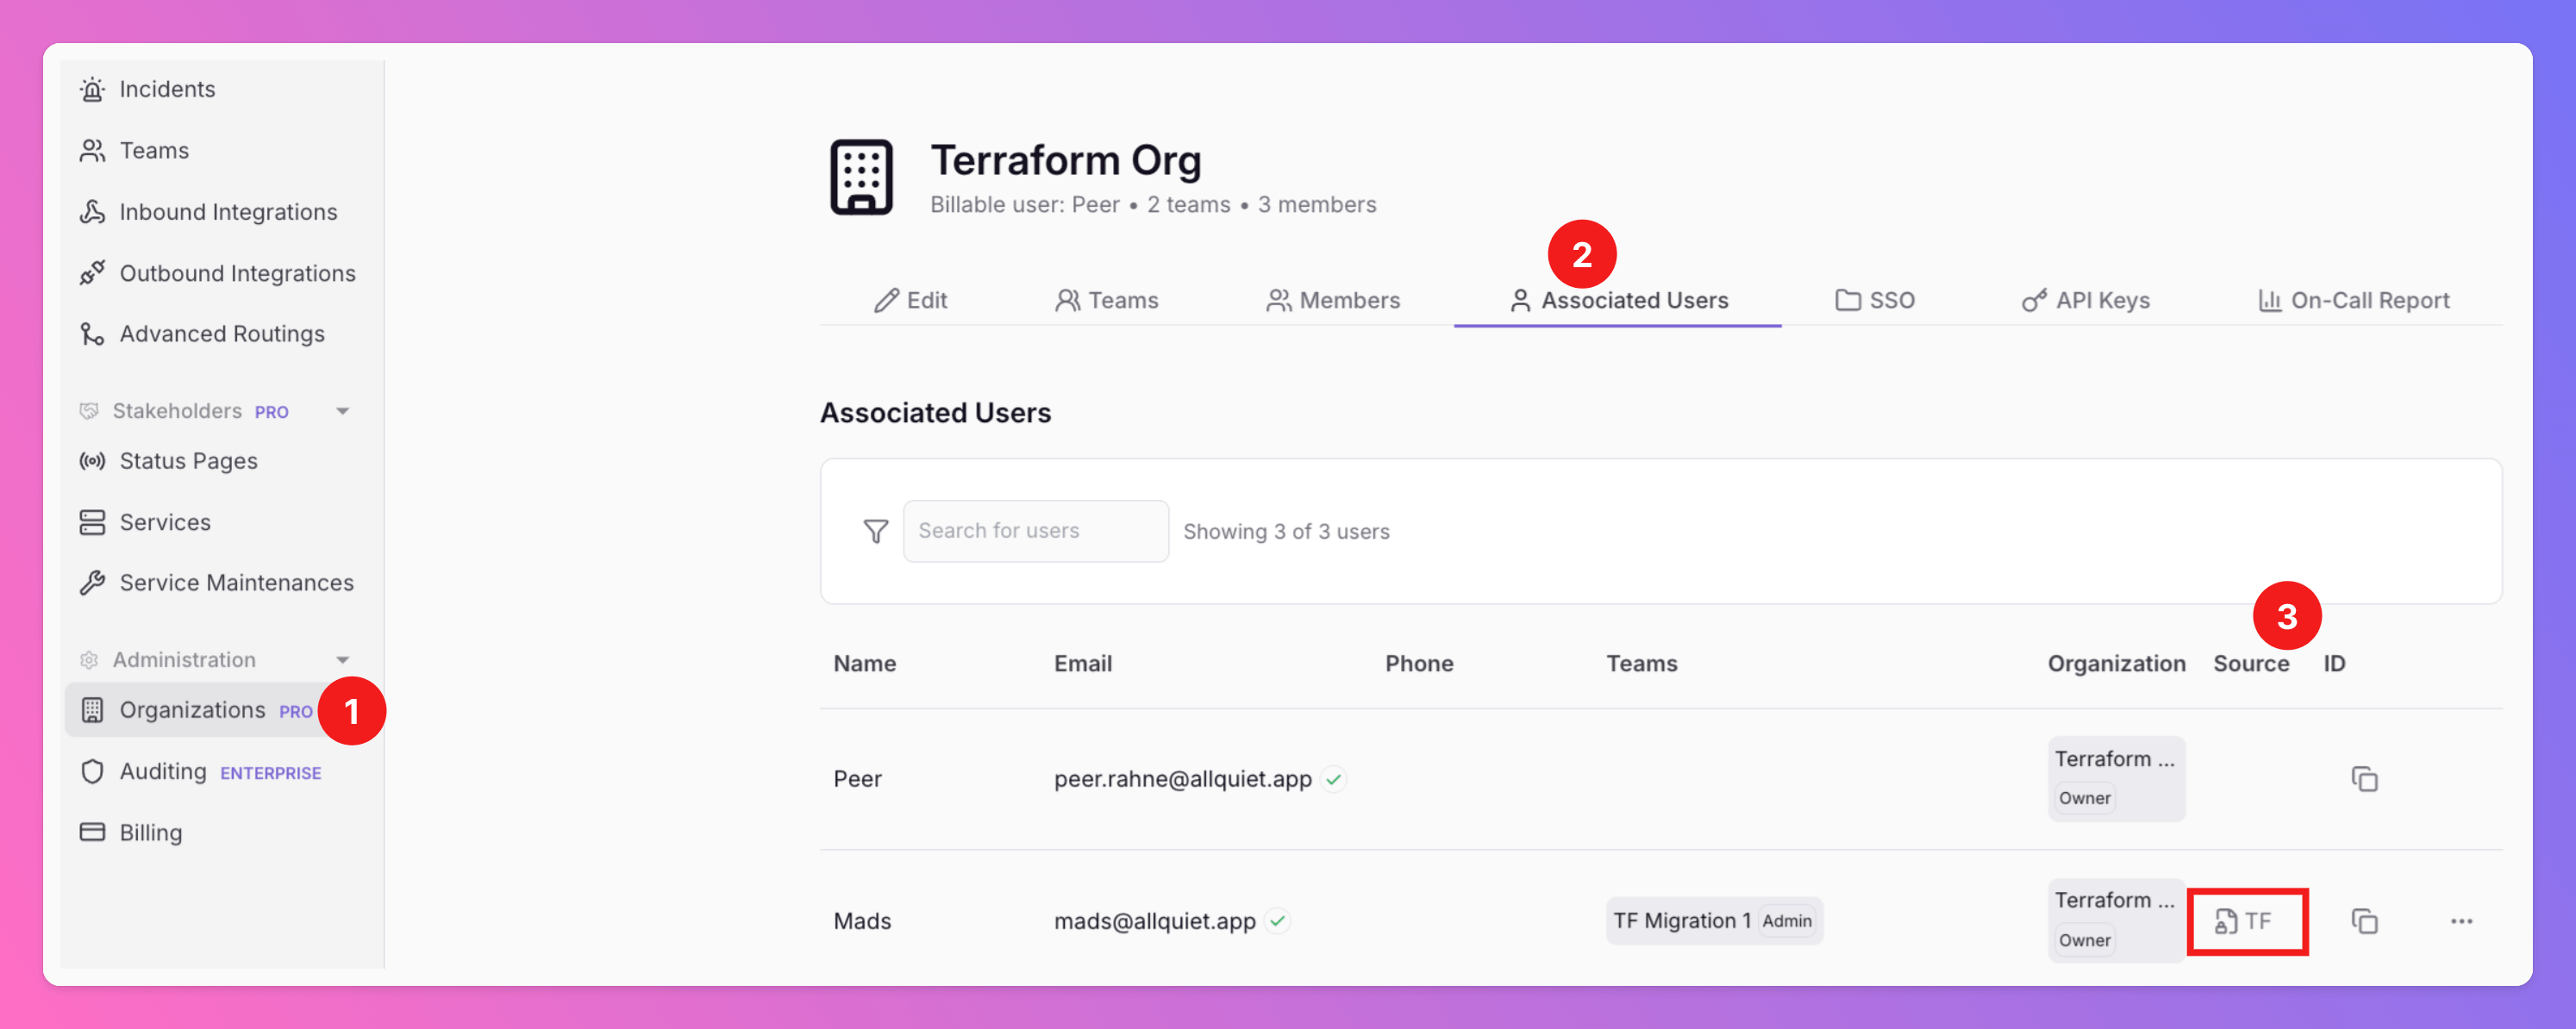
Find Provisioned Users in All Quiet
To see the users currently provisioned via Terraform in All Quiet,- Select your Organization
- Open the
Associated Userstab. Here, you can see all users of your organization. - Users provisioned via Terraform can be identified by
Source= TF
If you provision the phone numbers of your users via Terraform, they still have to confirm their phone number via notification settings.